Last edit by: IB Advertising
See related guides and technical advice from our community experts:
Browse all: Interior Guides
- Dodge Ram 2002-2008: How to Replace and Paint Headliner
Step by step instructions for the do-it-yourself repairs
Browse all: Interior Guides
DIY Headliner and trim color change
#1
What up everyone. I been waiting to do this mod for a whileand finally got around to it. I hated the two tone tan and black and wanted tomake my interior all black. I have seen this done on the forum before butfigured I would try to make a detailed one to help whoever is looking to dothis.
You will need:
foam headliner ( I got mine off ebay and it came with theglue I needed. I got 120"x60". This was the perfect size because itleft me extra material to do the visors which I am just finishing up.
glue for the liner ( Will show a pic later on)
ratchet and sockets
screwdrivers different sizes
different wrenches
wire brush
allen wrench
led bulbs if you wish (Got superbright led's on the way)
duplicolor plastic and vinal spray paint (2 cans)
big sheet of cardboard or anything to keep spray off ground
a little help couldnt hurt
patience
a little beer will help
ok first what I did was take off the tan moldings.
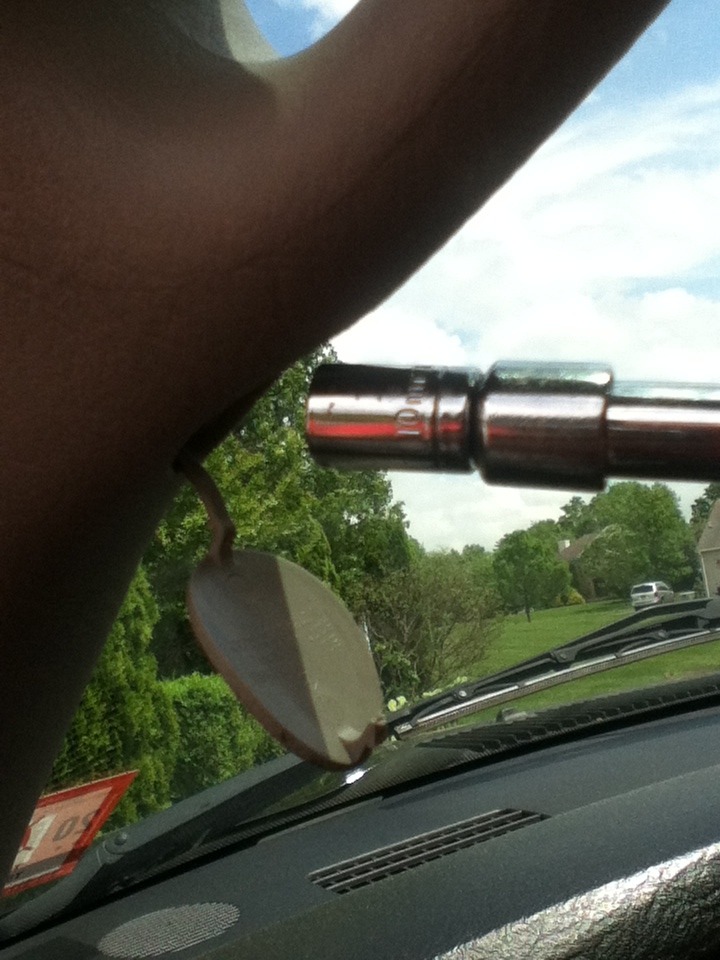
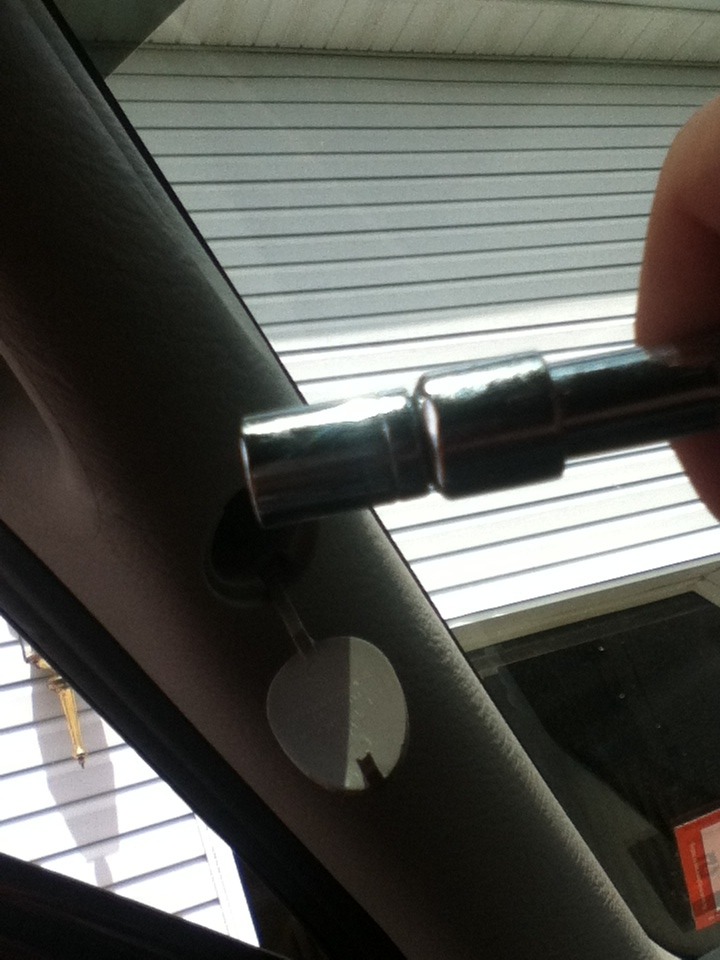
Just pry the holed open with a screw driver and use a 10mmsocket to get the 2 screws out. Also do this for the back 2 handles. These twopillars were a little tricky to get off. In the front by the windshield and onthe dash there are 3 inserts where it is still connected and takes a little playingaround to worth them free.
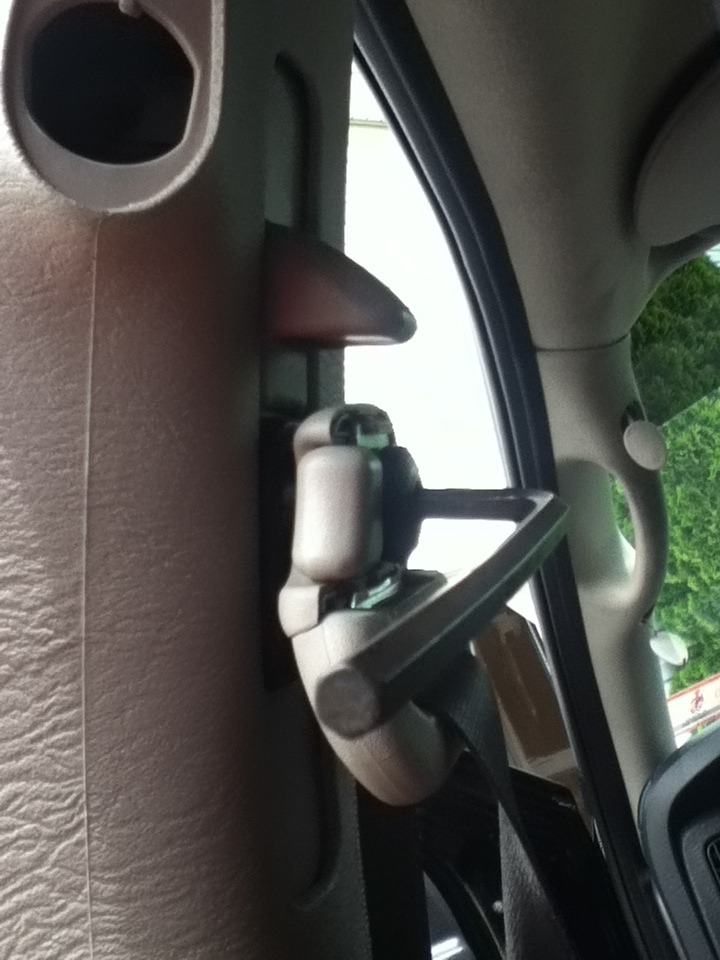
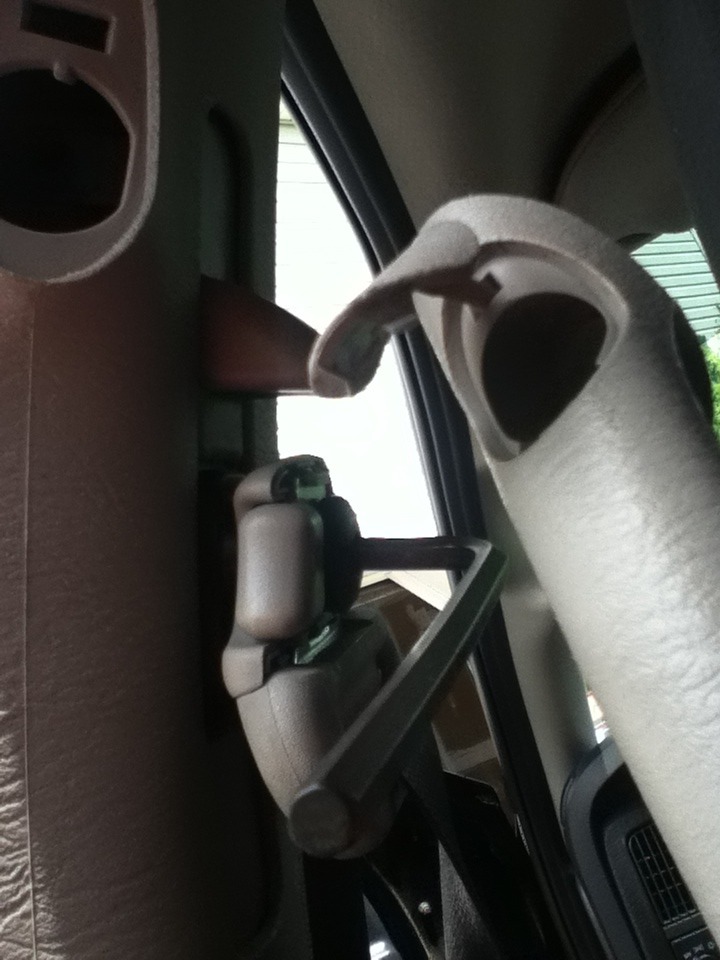
Next go to the back and take off thoes 2 handles just likethe first but the handles come off seperatley. Then take off the cap that is onthe seatbelt and take an allen wrench and screw that seatbelt off. From thereit is eay to pop off that molding.
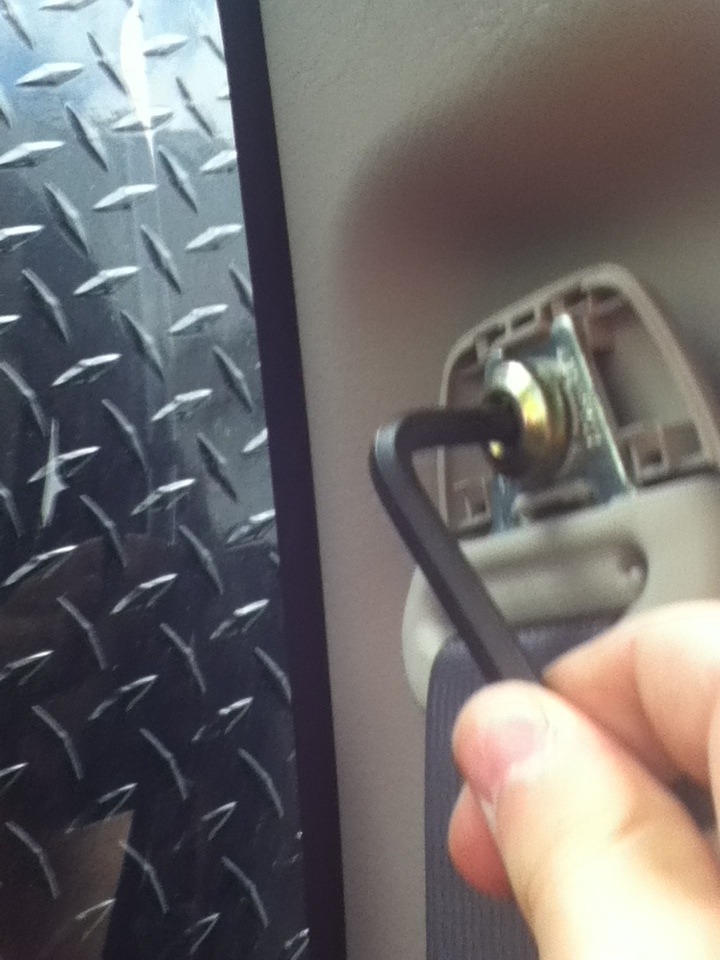
Do the same for the back now
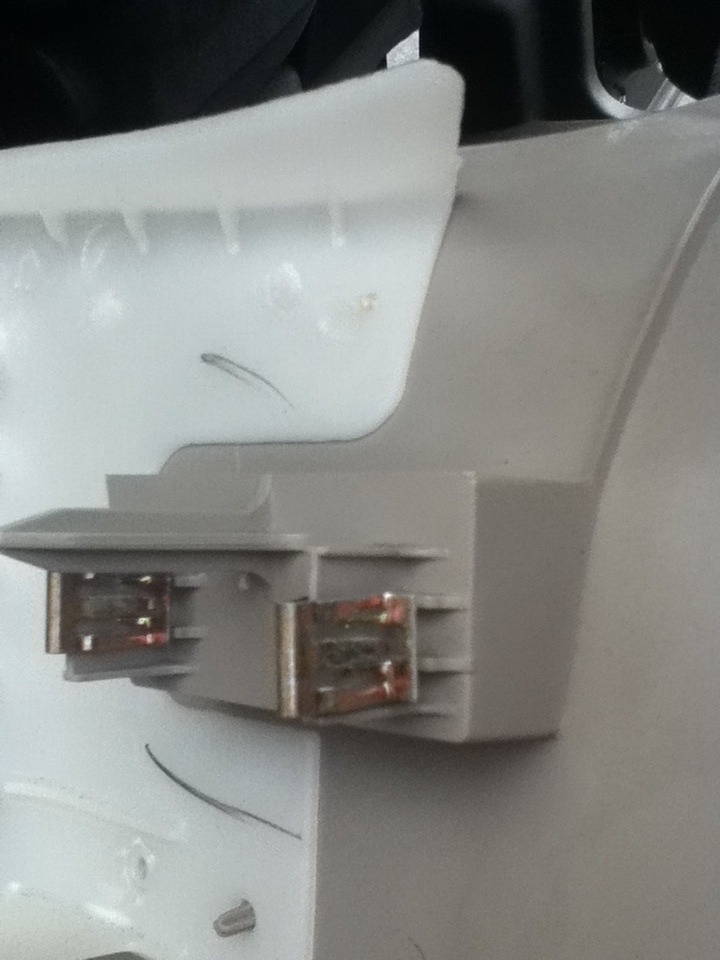
These little clipes are on all of the moldings but on theback one there are three of them which makes getting them out a littledifficult at first but once you know where all of them are you can just popthem right out.
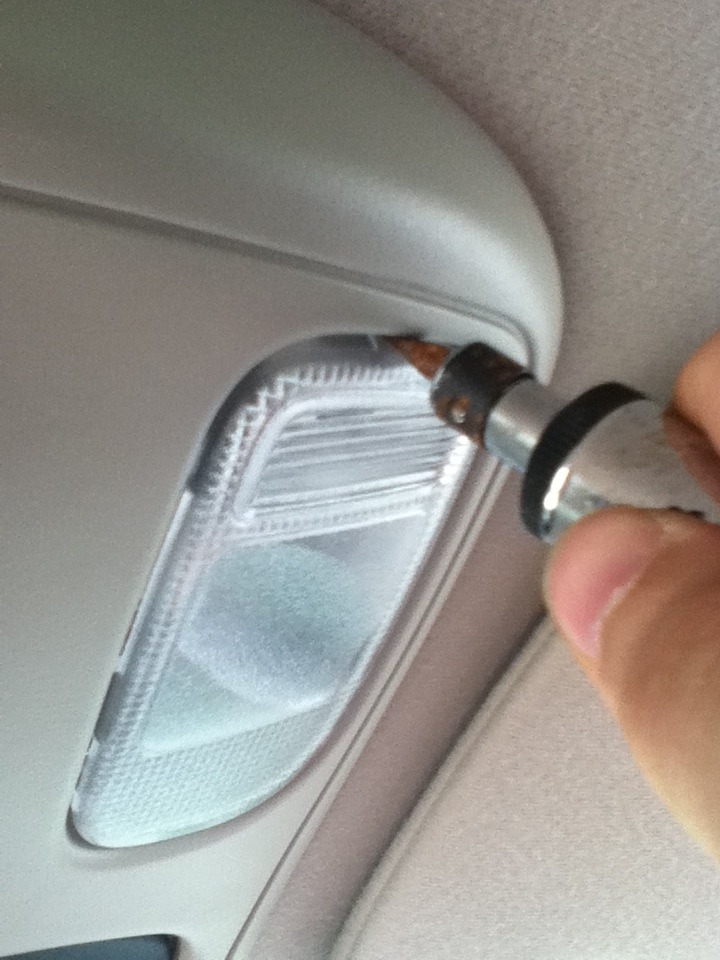
next pop the covers off the map lights and there will be 2screws in there that you unscrew and this will allow the unit to hang down.there are 2 clips on the back of it, they are easy to find and that will helpyou get it down.
from there there are 2 wires that are clipped into theunits, just unclip the white one first bc it is easier. the black one I hadtroubl with so I unscrewed the screen from the unit and this actually made iteasier to spray the unit later on.
Take out the screen for the dome light and then wiggle thatdown. There is also a wire that clips onto that unit as well and just unplugthat and take it off
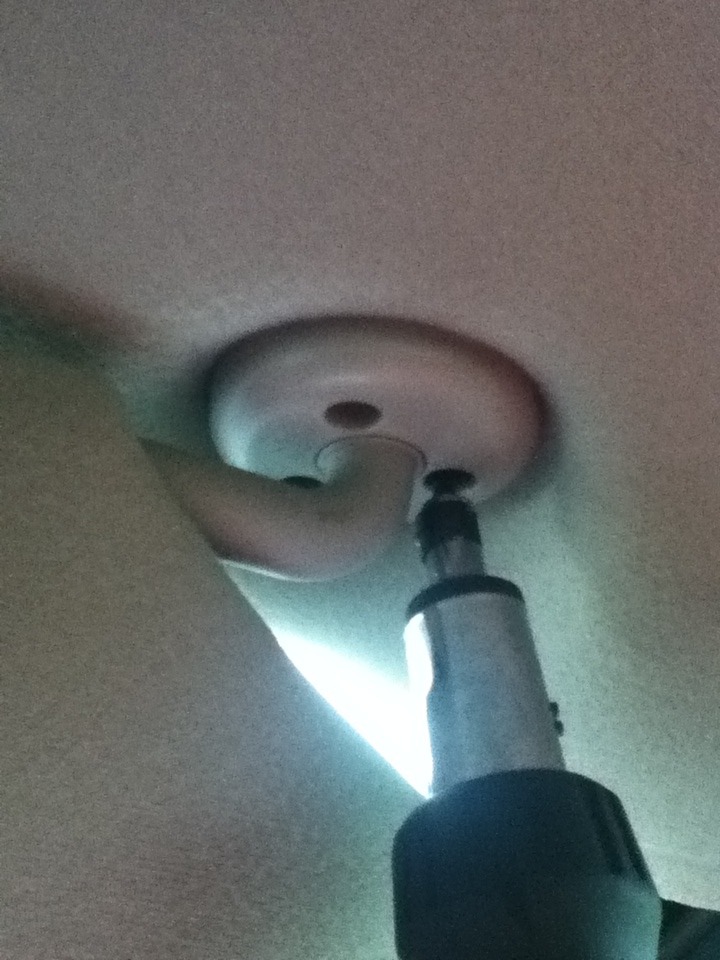
Next unscrew the 3 screws on you visors and pull them out.Mine dont have anylights on the mirrors so I didnt have to worry about anywires in there. For the other hooks that are there, grip the botton of it andpull down. This will seperate and make a big space in the hook. From there youcan just pull them out. You can do the same for the clips in the back.
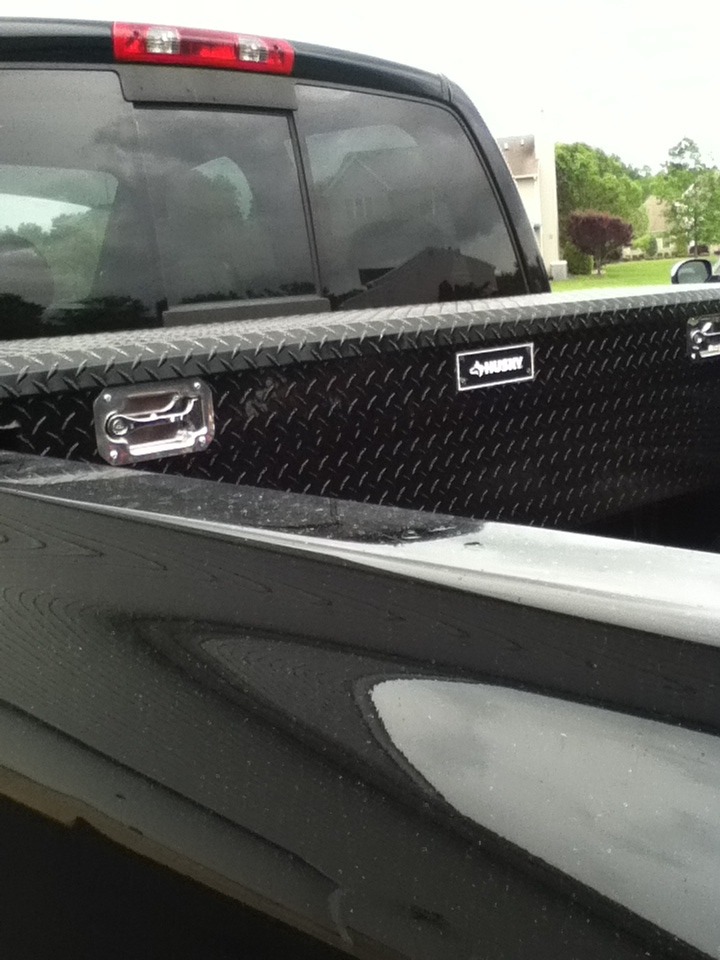
Next go to Home Depot and buy a husky toolbox for your truckso you can get cardboard to paint your plastic on.
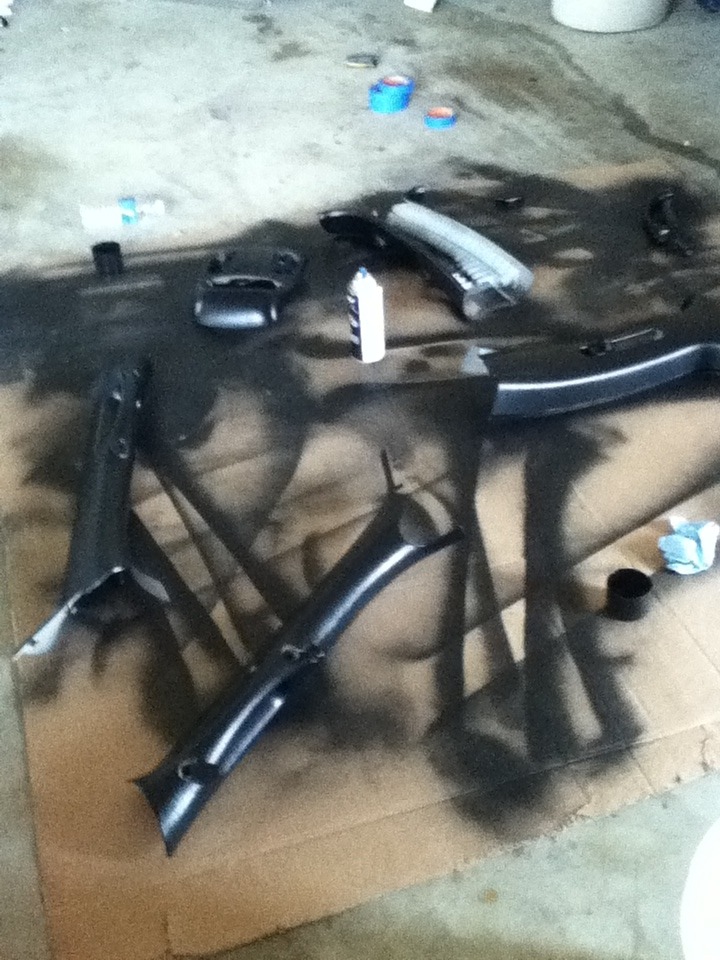
When painting your plastic go in long passes across theplasitc longways. Do very very light coats so the paint gets a chance to stickto the plastics. I did like 6 to 8 very light coats. You will see if you go onto thick that it will look like it dosent want to stick to the plastic at all.Trust me spray it so it looks like you are hardly putting anything on and keepgoing from there. it dries quick so just keep going around in a circle sprayingevery part so it goes quicker.
After you get all of the parts painted you can do theheadliner. Once all the the clips and molding is removed the liner will comedown.
You will see that there are 3 sets of wires that will behooked to the headliner. There is one that will be in the back for the 3rdbrake light and just unplug that, also the one in the middle for the dome lightthat had been taken off before, and also a set that runs down the drivers sidedoor that the one panel was covering up. Unplug that as well and there areclips holding the wires onto the door and just pop thoes out. The wires areglues to the headliner so it is easy to figure out what one goes where.
Next you have to get the headliner out of the cab which wasrough. I had to put the seats back and had to shift my truck in 4Hi because theliner kept hitting it. Hopefully you will have a better time getting it outthen I did.
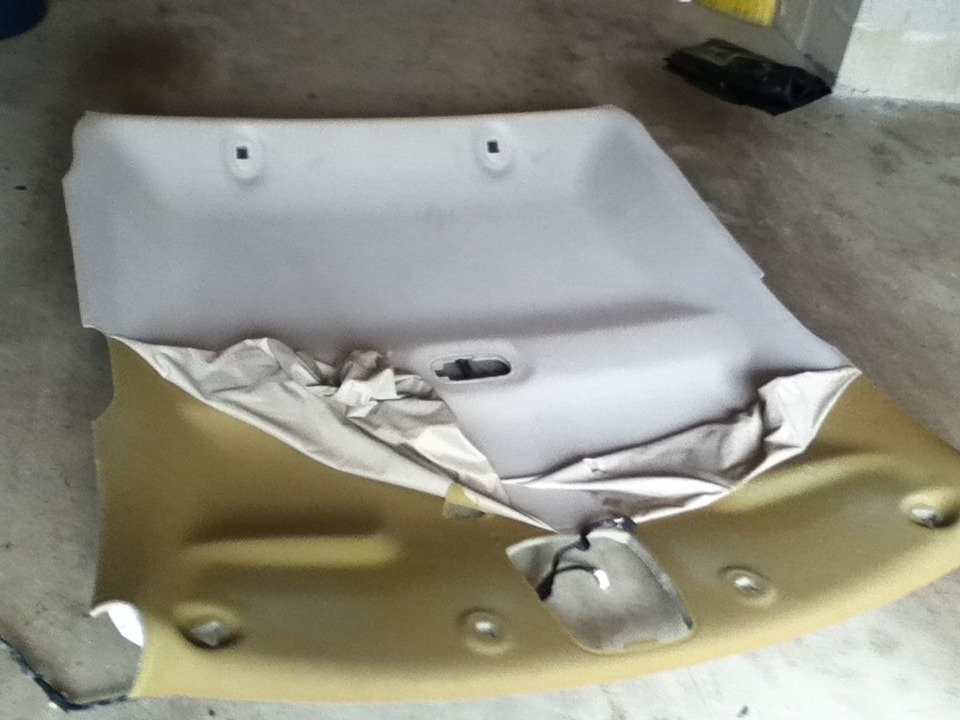
Start peeling off the headliner. You will not be able to getthe foam off with the cloth and thats where the wire bruch comes in. You haveto take that and scrape off as much foam as you can. The more you take off thebetter it will look because it will let the new liner stick better.
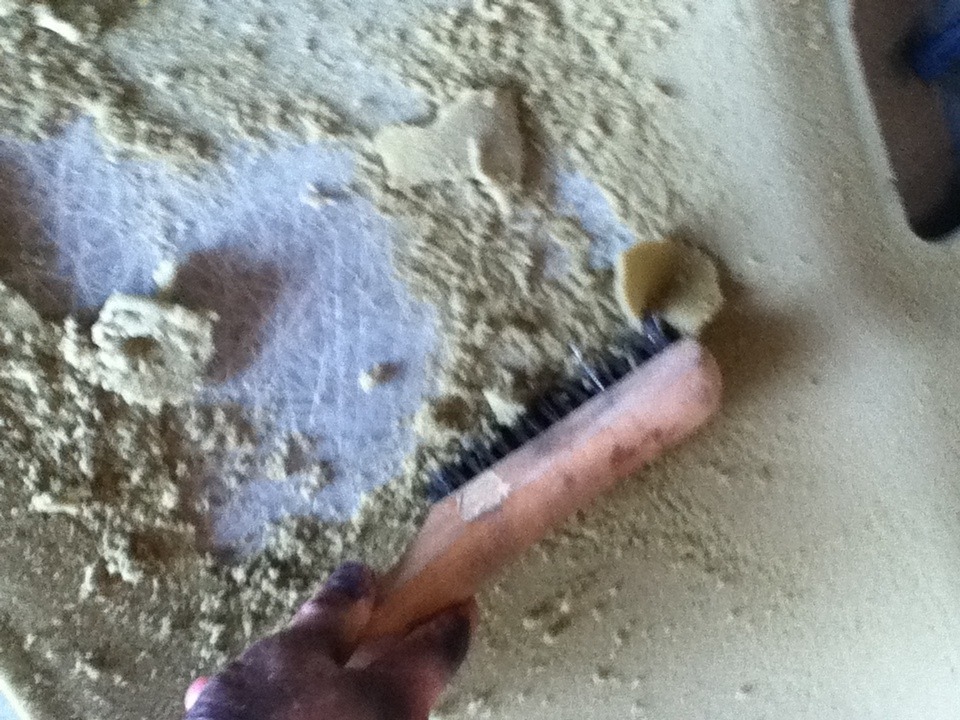
It takes a long time and this is when its good to have patienceand beer. Also a little help switching on and off if you have it which I didnot.
When you finish that, lay you liner on top of the board andthen fold it half way over.
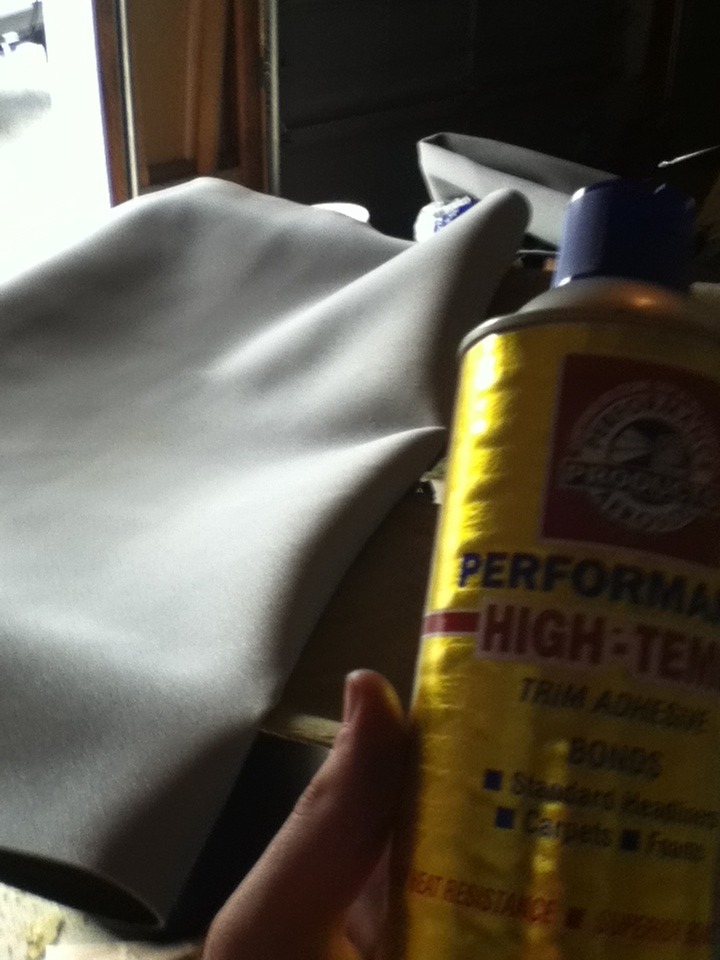
Take your glue and give it a good shake and spray it evenlyon both the board and the new liner. Make sure you get the edges coated well.
http://www.youtube.com/watch?v=-MmT72NDtTs
this is a good video of how its done and this is how I didit.
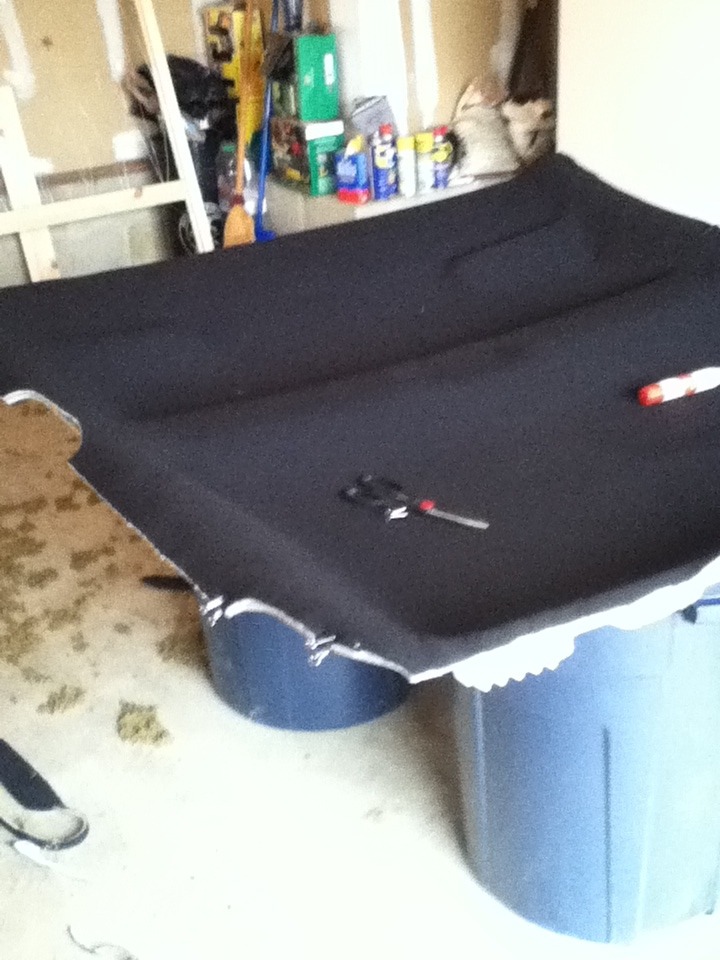
When you glue it, lay the liner on evenly starting from themiddle with you hand and rubbing to the edge. Be aware of the indents in theliner to make sure to allow slack to get into there. Let it sit and trim offthe edges. I did not have anough glue in some parts on the edge because I ranout. A hot glue gun works great to fix this problem.
Next cut out the holes where ever there needs to be cutoutso you can install everything.
Just put it in the way you got it out and you will be set.
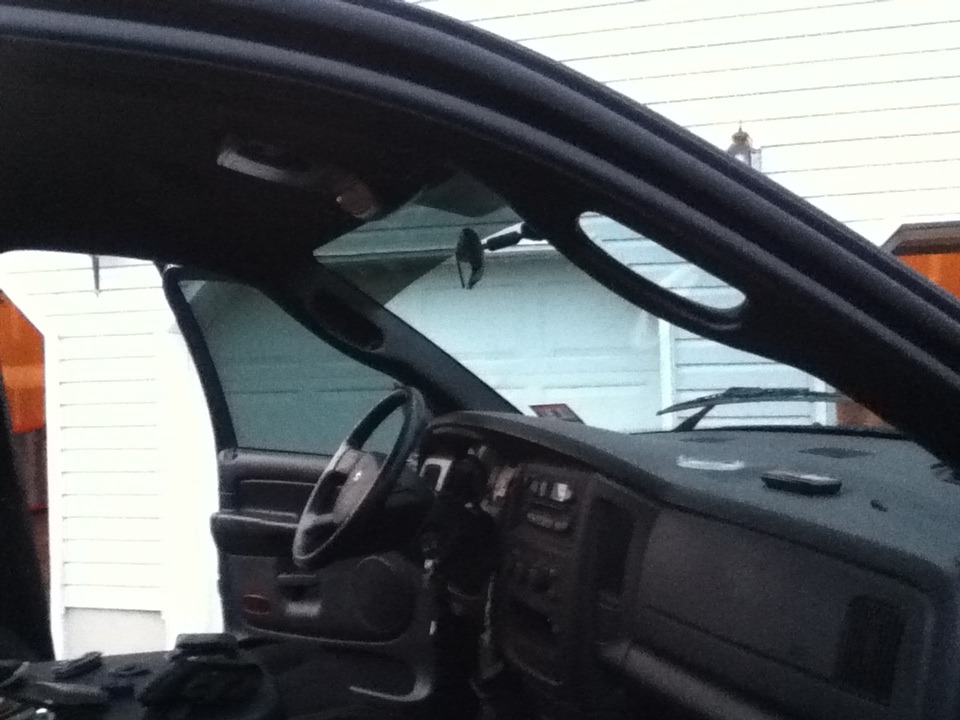
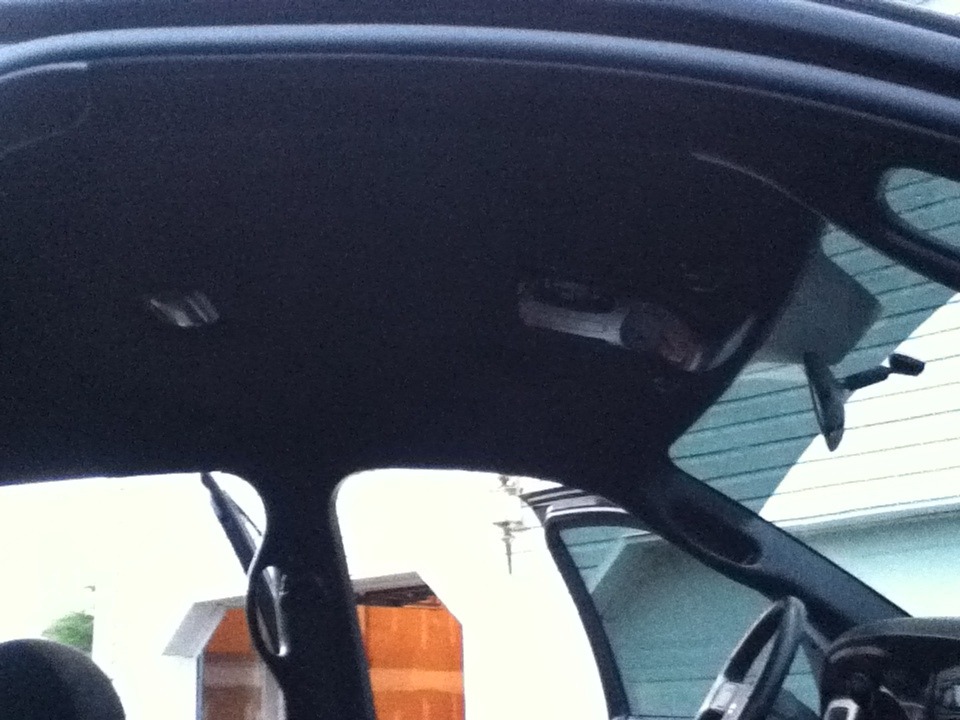
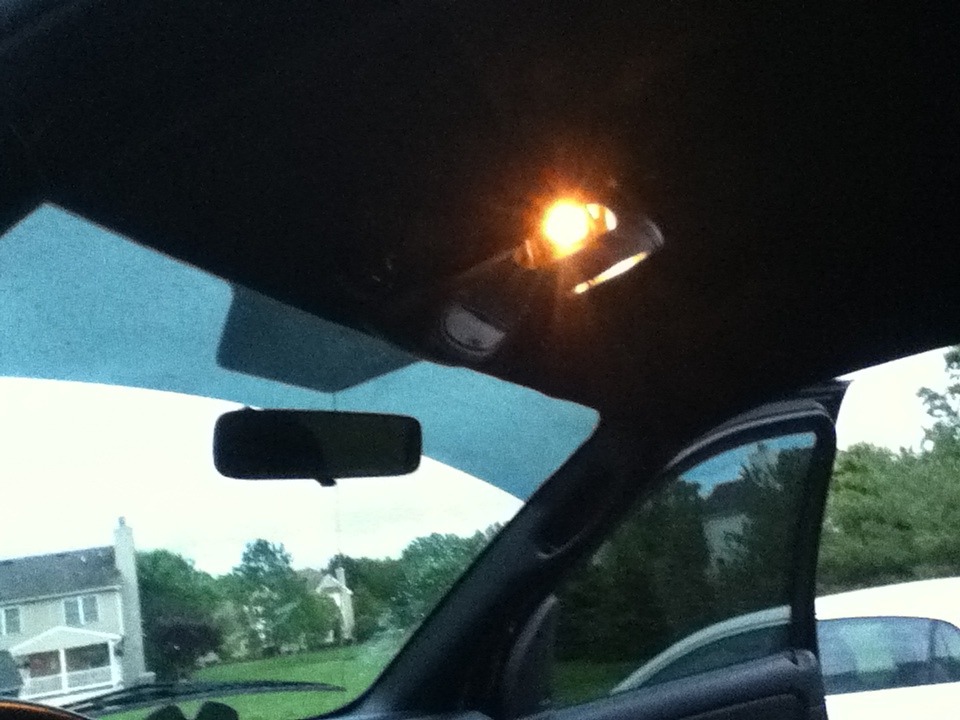
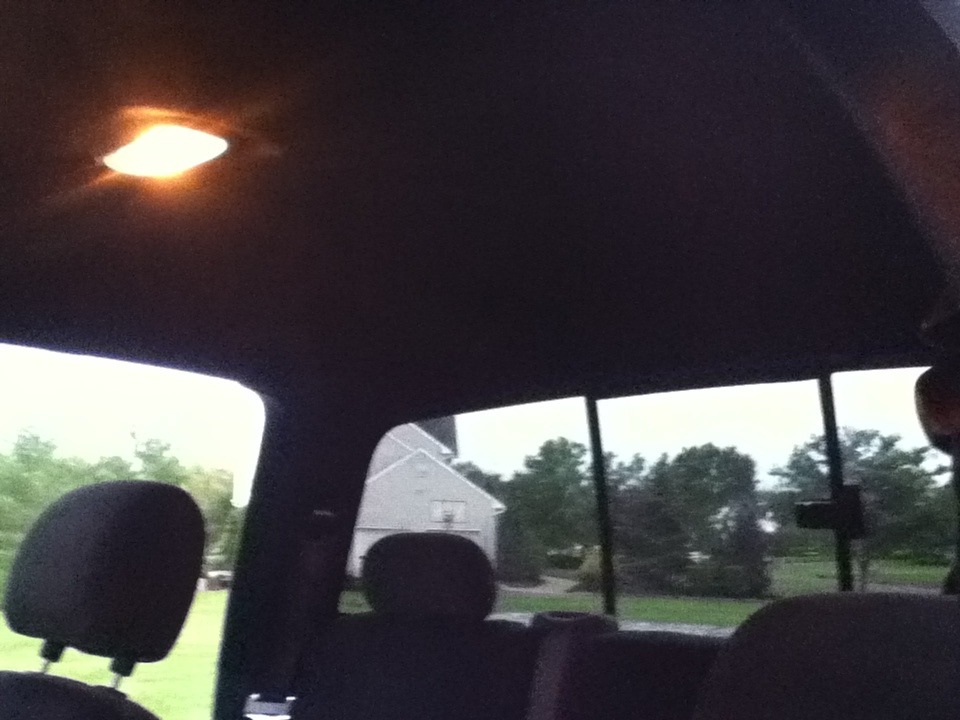

The pics dont do its justice but man it looks so muchbetter. And doing it yourself really make the mod worth wild. It feels greatdoing that and being able to tell people you did that yourself and it looksgreat. As for the sun visors, I just got creative and wraped them best I couldand hot glues the back where i could glue the fabric together. it takes a longtime and I didnt even finish yet. But just get creative. If you got your mom,whife, or GF who wants to help take advantage of that haha
This whole process took me about 7 hours because i keptgetting delayed by the rain and took me a little to figure some parts out
As you can see I dont got my LED's in yet but they are goingto really make that pop. Make sure you get the Festoon shaped bulbs. I got thewrong ones thats why I have to wait a few days to get the new ones I ordered.
#3
Yea it really isnt that hard. Once you know what your doing its easy, I had to figure a bunch of stuff out myself so I decided to make a nice write so people didnt run into the same problems I did
#5
#7
Trending Topics
#8
I tried a little and didnt feel it came out that well. Plus I didnt like the smell and I just enjoyed doing the project overall.
#9
#10
Never seen spray paint the stick on interior parts long term. You should wet sand it with 400 first, spray plastic adhesion promoter and then use rattle cans if yours going to do it that way. It won't stop it from getting scratched and chipped but it will at least stick long term


