

Power Steering Pump Install
#1
 04-14-2013, 12:00 AM

at 185k miles, the power steering pump is whining and i'm tired of listening to it.
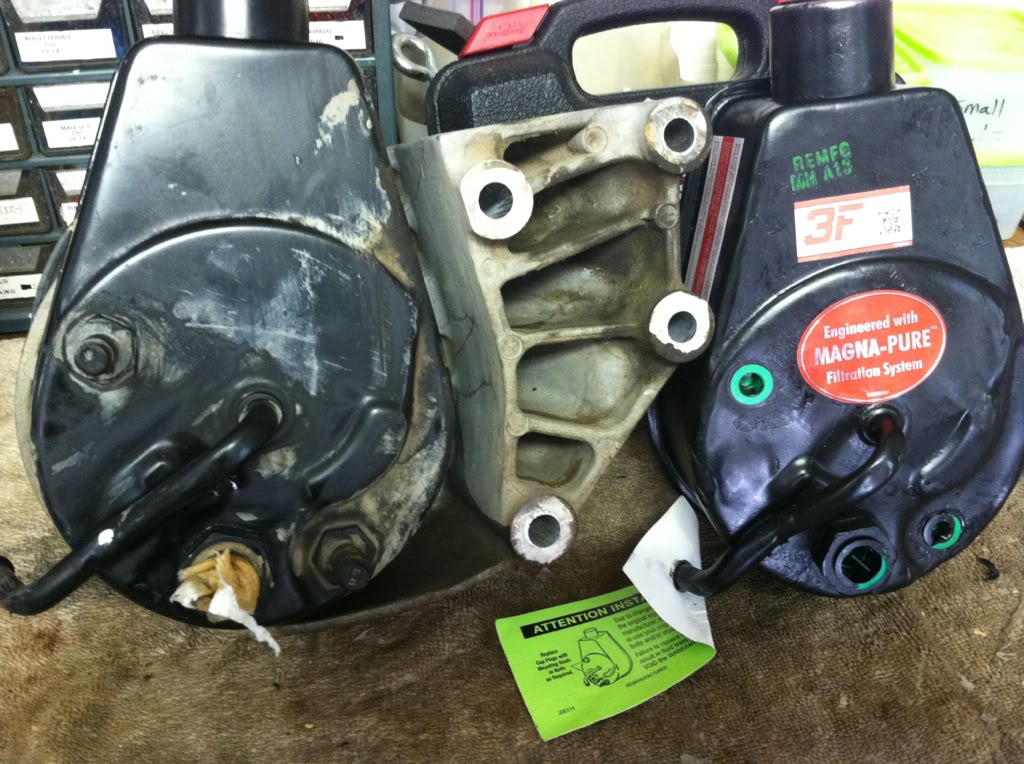
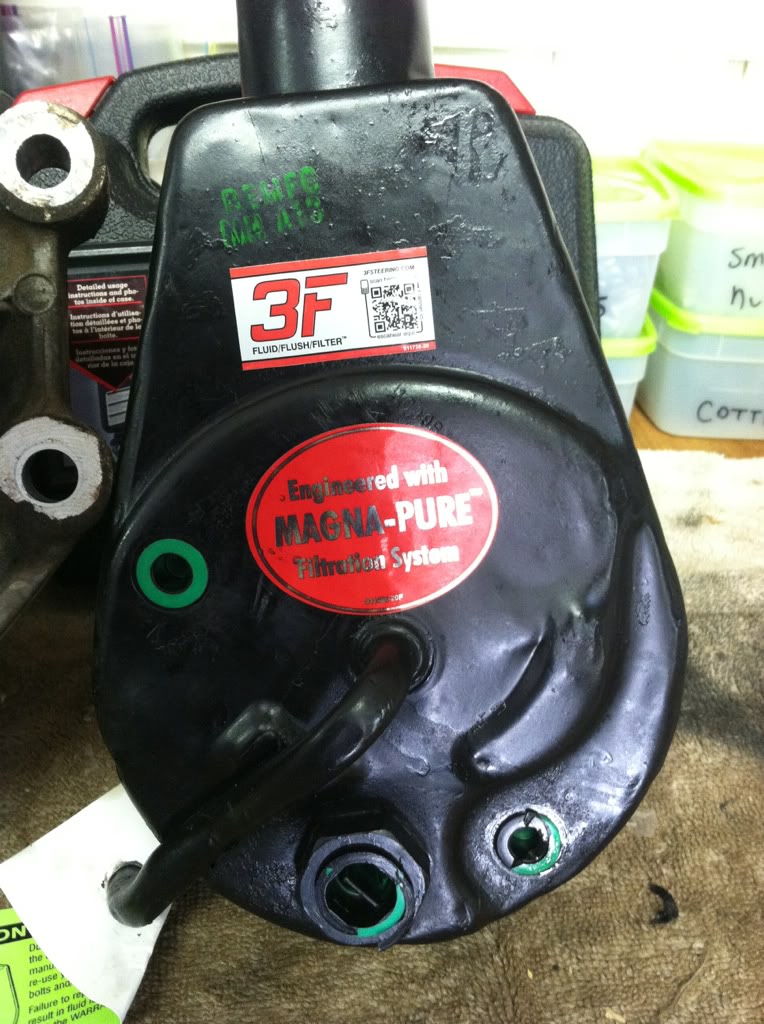
Pump - Cardone 20-7953F from Advance. $42.09 with lifetime warranty.
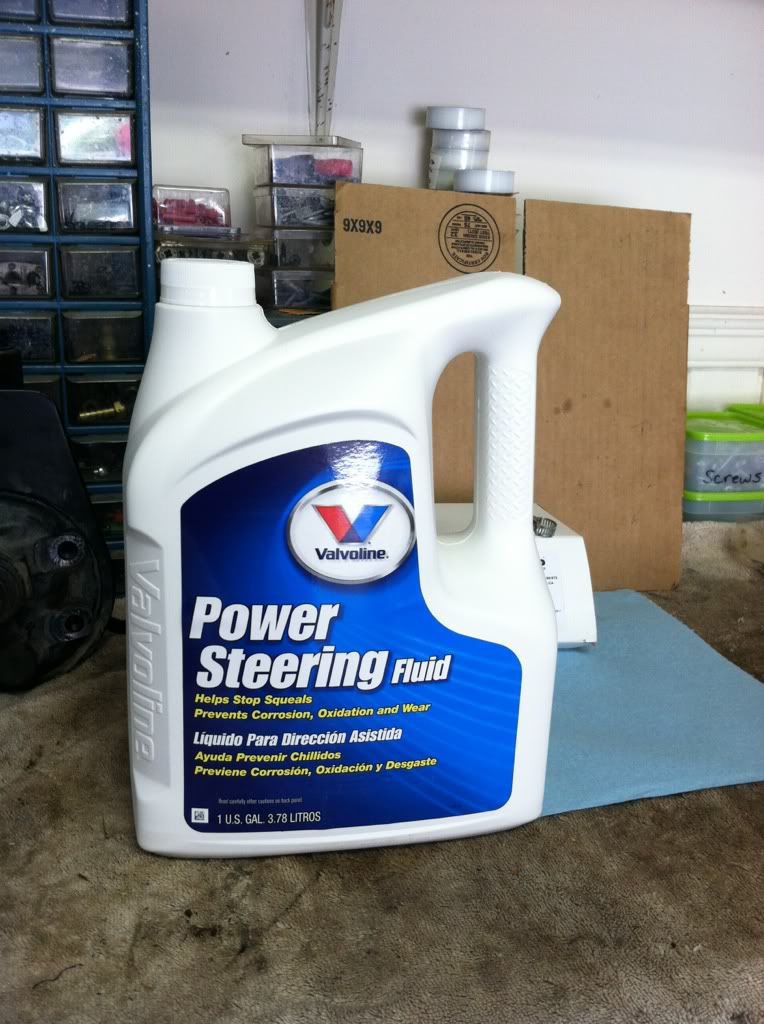
Fluid - 1 gallon Valvoline from Advance. $13.59. I used about 3 quarts to flush and fill.
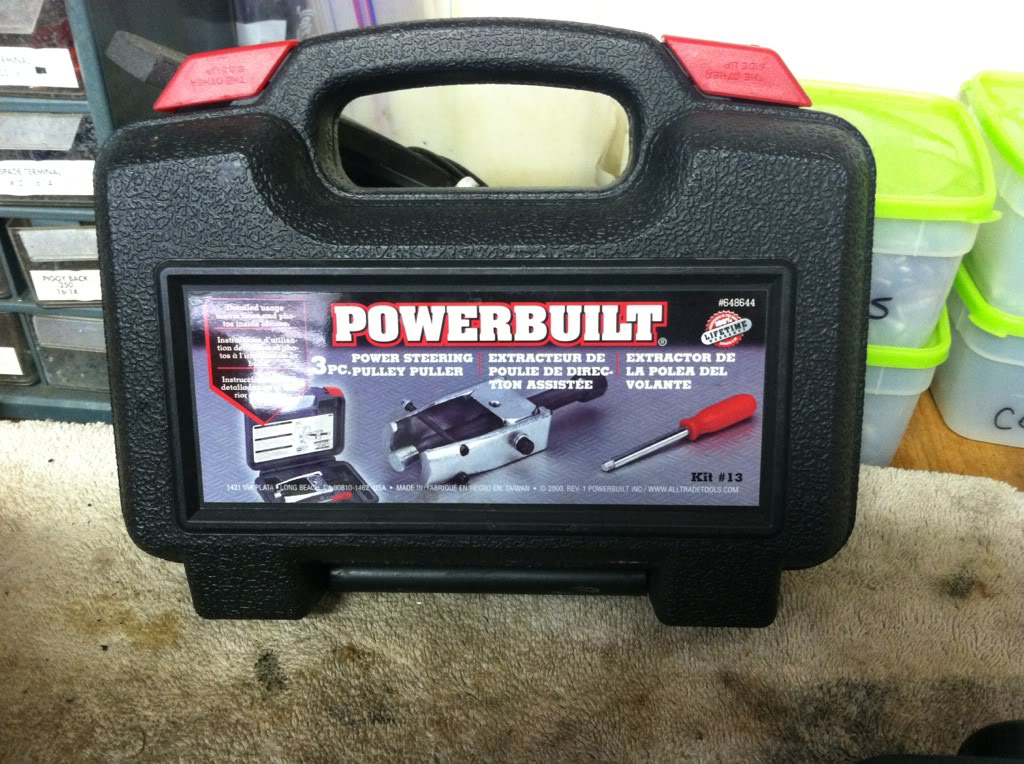
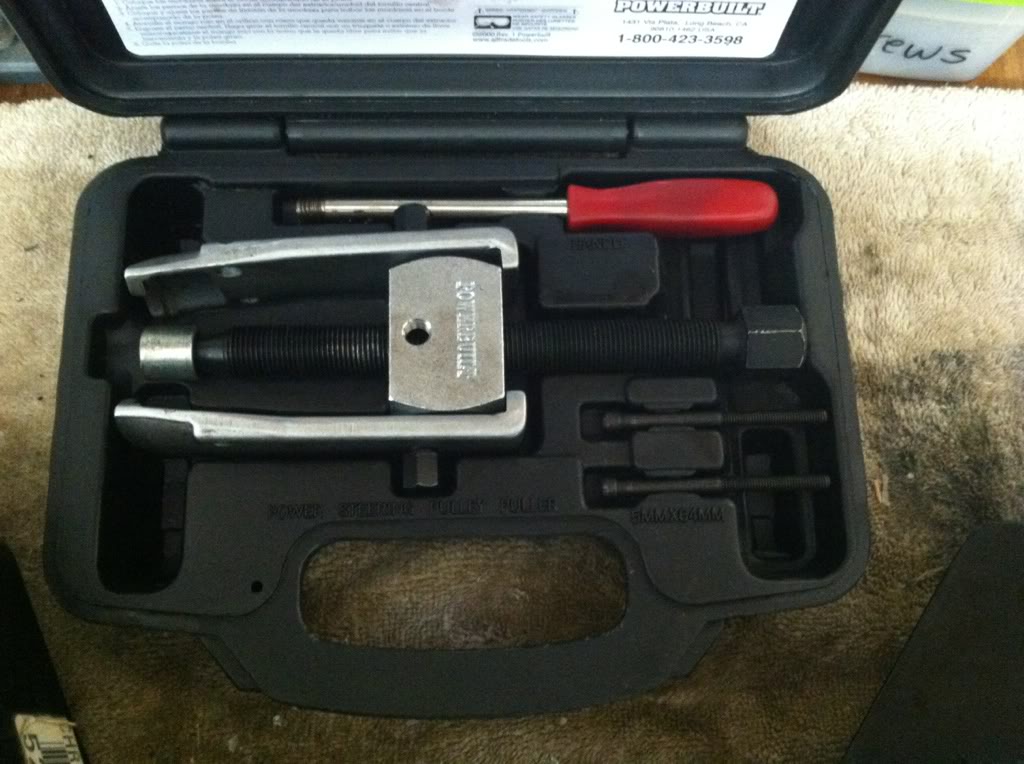
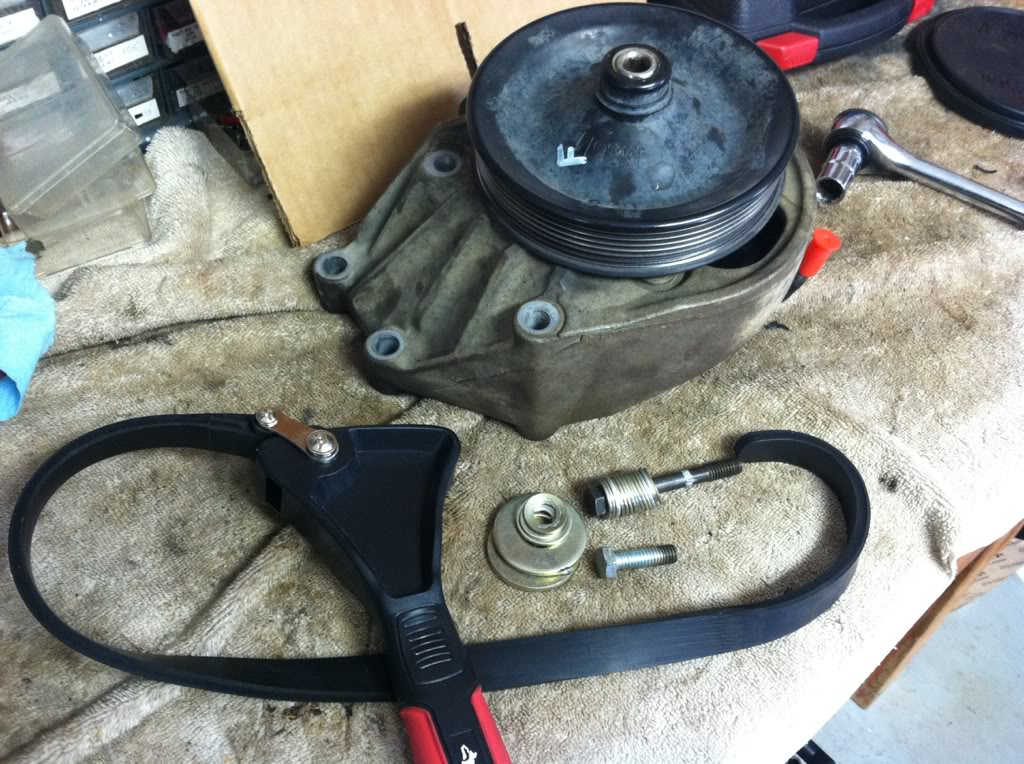
PS Pulley Removal Tool - I rented/borrowed from Advance.
PS Pulley Install Tool - I did not rent an install tool, but just used a 5/16 bolt and washers to drive it on and a strap wrench to hold the pulley.
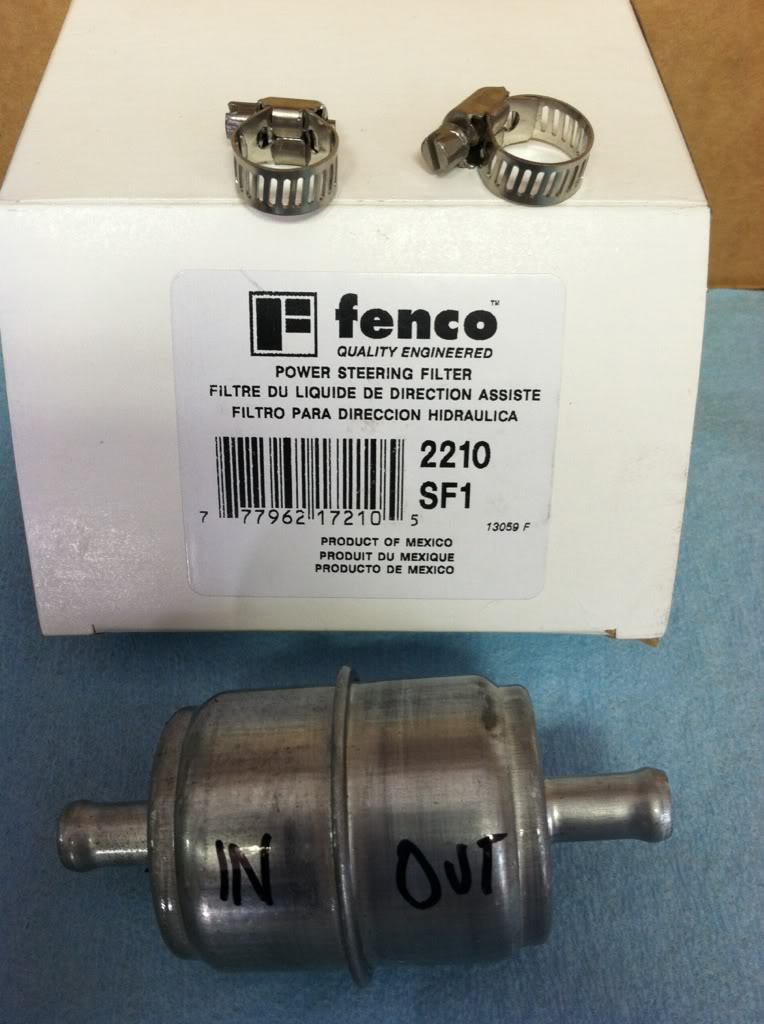
Filter - Fenco 2210 from Autozone. $10. Advance doesn't carry that filter.
Clamps - two 3/4". the ones in the Fenco kit are too small for our hoses.
Shop towels.
Mild Brake cleaner. I like Advance's. Walmart's is too strong and burns your skin.
tools:
ps pulley removal tool (rent/loan)
wrenches - 9/16, 15mm, 18mm.
sockets - 9/16 deep, 15mm, 19mm for puller, 4mm allen-head for puller
1/4 inch socket or nut driver for filter clamps
knife or heavy scissors to cut the return hose
funnel.
for flushing - small bucket, 3/4 inch heater hose about 2 feet long
jack
home-made pulley install tool- 5/16" bolt about 2 to 2-1/2 inches long and two inches of washers as spacers.
strap wrench.
note the o-ring attached to the new ps pump. don't lose it.
1. unhook serpentine belt and move it out of the way. 15mm wrench.
2. remove the plastic caps from the new pump, to use to plug the lines on the old pump. keep new pump in plastic bag to keep clean.
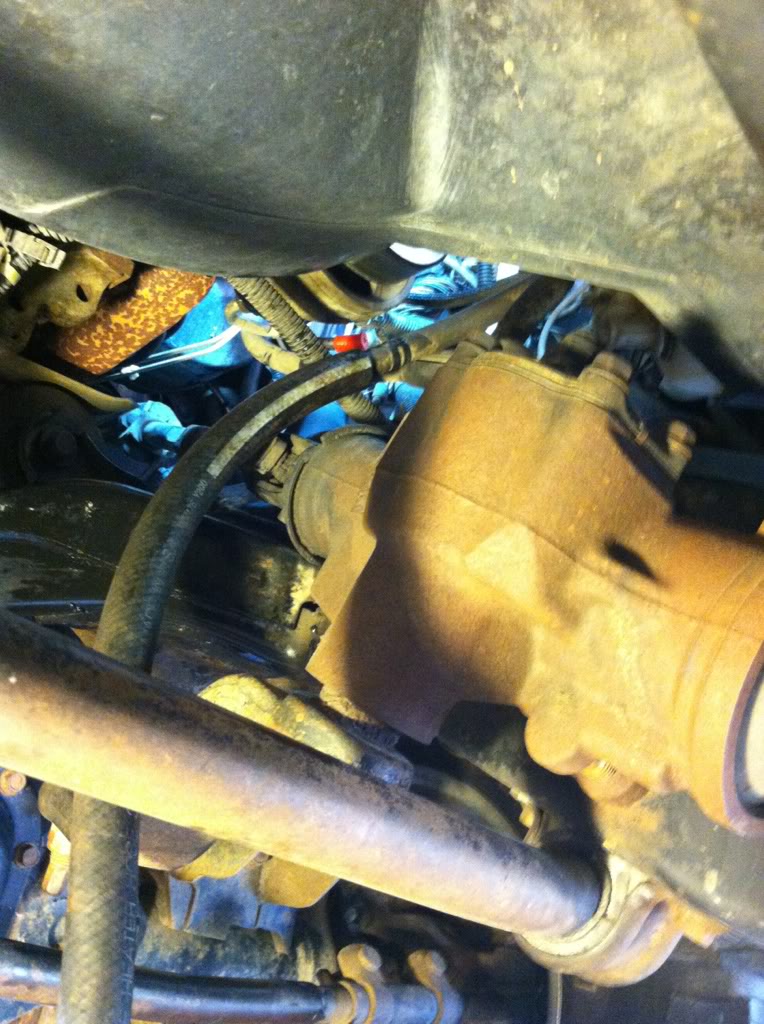
3. remove old fluid from old PS pump, lines, steering gear by flushing. jack up the front tires off the ground. disconnect return hose from pump pipe. flatten the tab on the squeeze clamp so it'll compress all the way. i used a small flat screwdriver to gently separate the hose from the return pipe, and a few squirts of silicon spray or wd40. plug the return pipe quickly. point the return hose down and into a piece of 3/4 inch heater hose and into a bucket. do NOT start the engine. turn key to unlock the steering. with engine off - turn steering wheel lock to lock several times. it'll dump all the fluid out the return hose. leave the return hose in the bucket for futher flushing later.
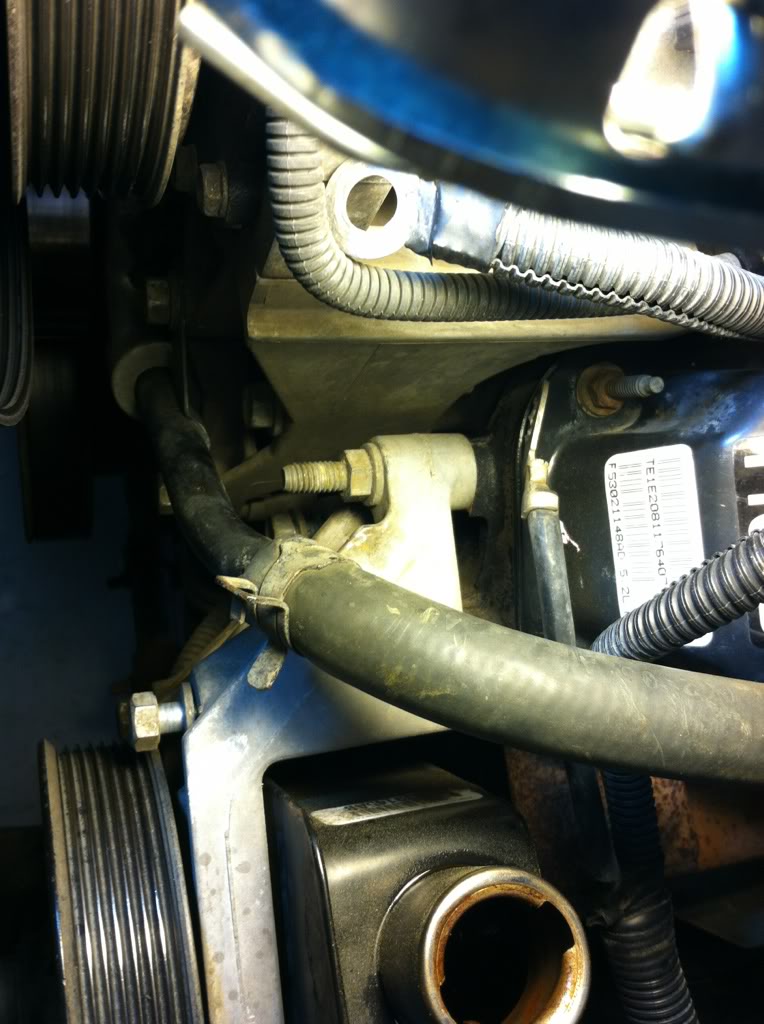
4. remove pressure line from underneath. 18mm wrench. plug the hole quickly.
5. remove nut from the stud on the top of the the ps bracket. it has 2 ground wires under it. 9/16 wrench. 14mm was too small. move the 2 wires up out of the way. the water pump pipe blocks access by socket and forces you to use a wrench on this.
6. remove the stud (w/wrench) and the other 3 9/16 ps bracket bolts. note 2 are long and 2 are short.
7. remove the ps bracket with pump and pulley still attached and take it to the workbench.
8. turn the old pump upside down and dump any remaining fluid.
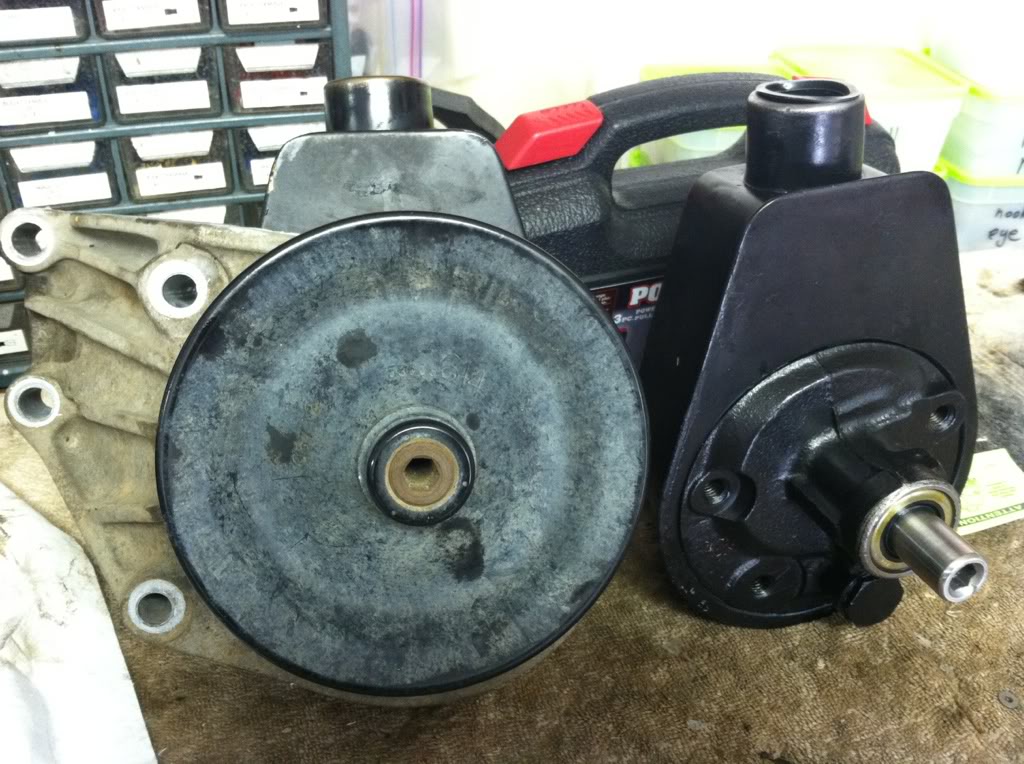
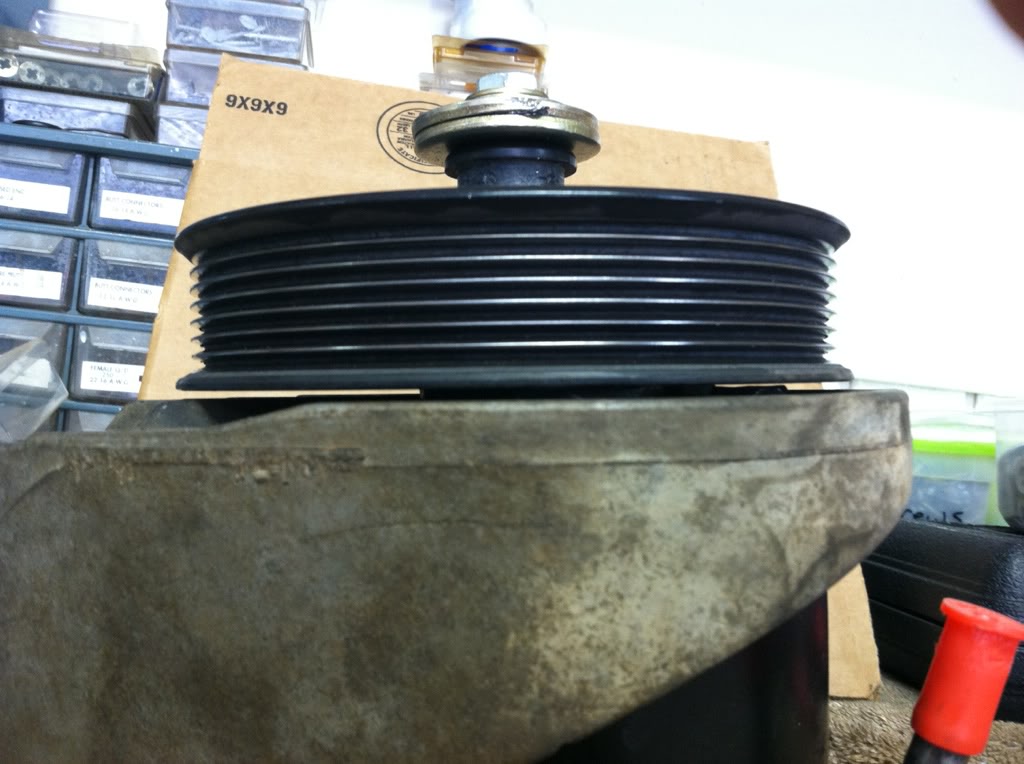
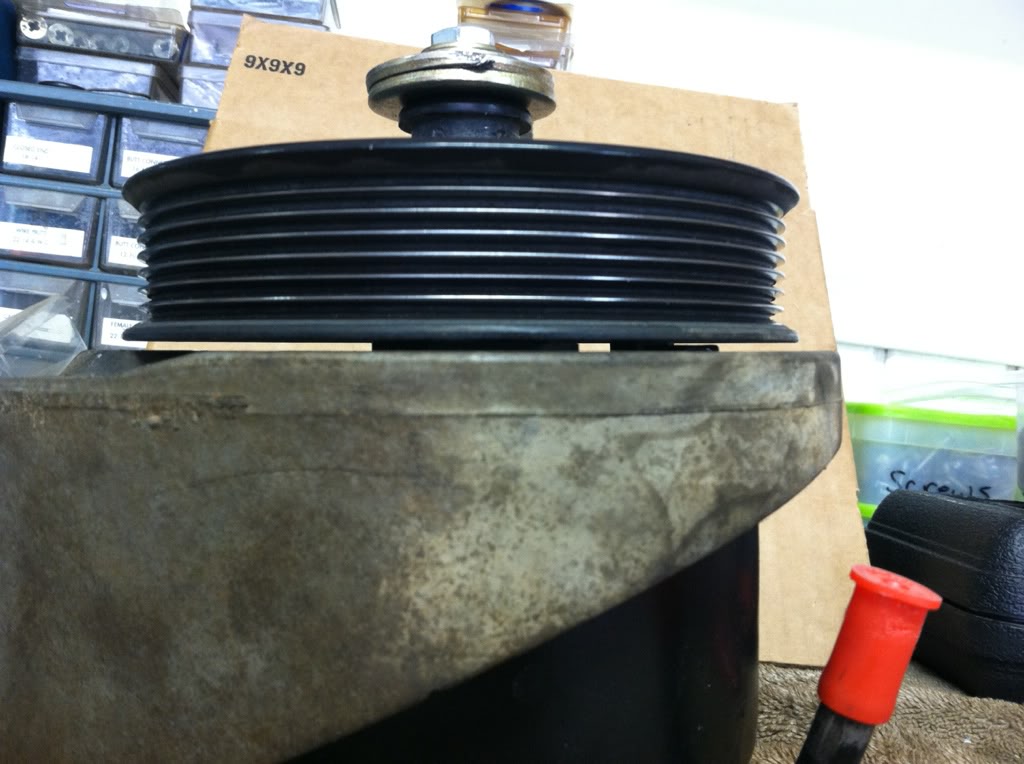
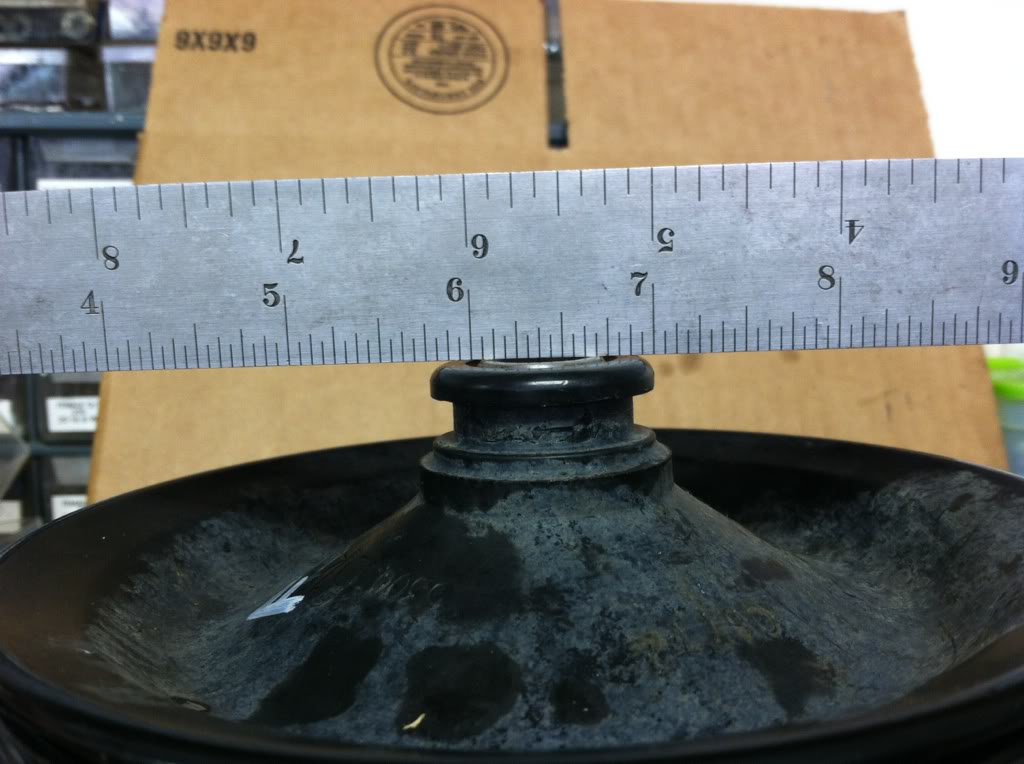
*** note the position of the pulley on the shaft. end of pulley is flush with end of shaft. also note the distance from the inside edge of the pulley to the ps bracket. its very close, about 3/16 inch or less.
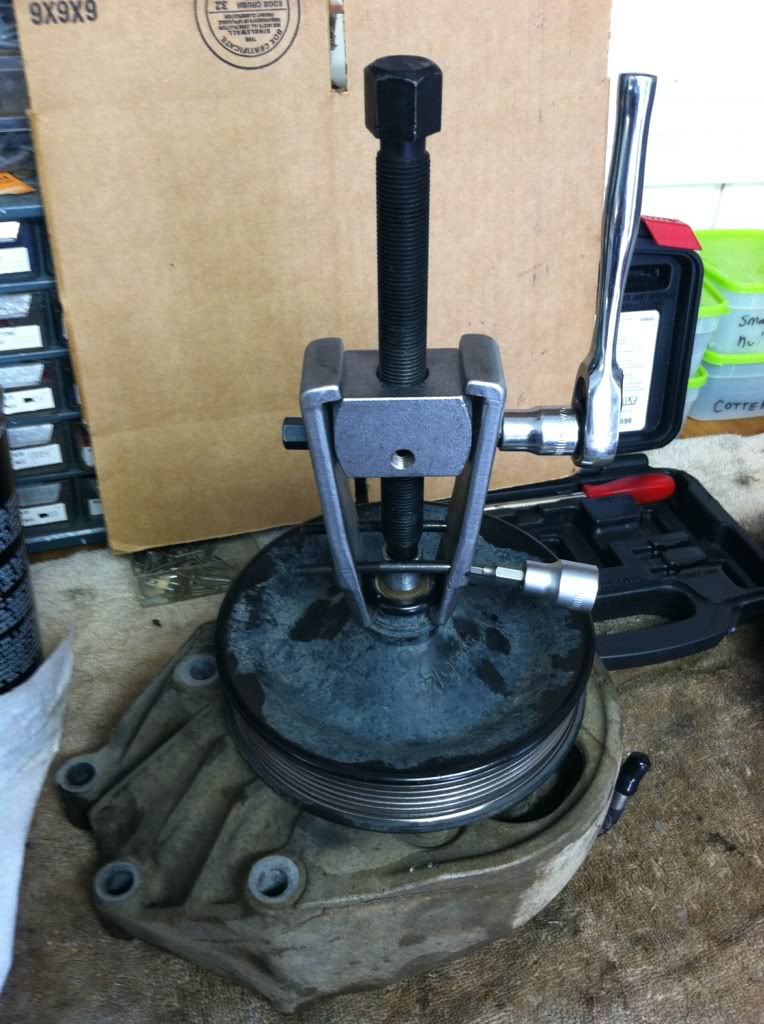
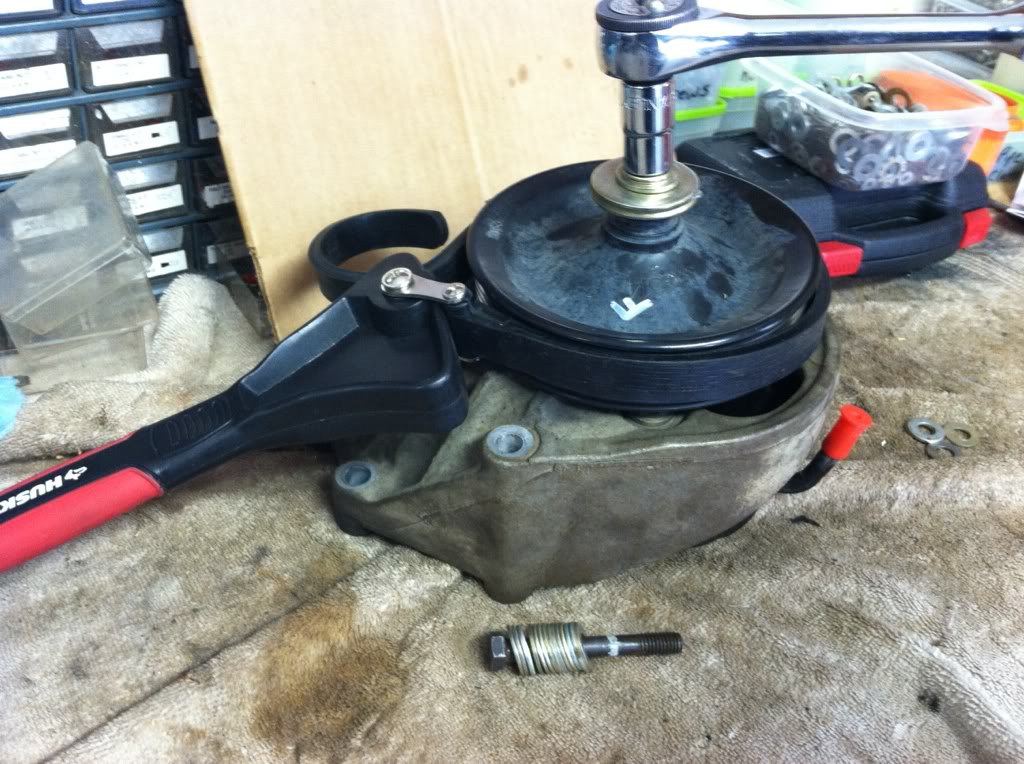
9. setup the puller on the pulley. i had to finagle/tighten one side bolt or the other to center the bolt over the shaft. do use the little bolts to lock the puller arms around the puller.
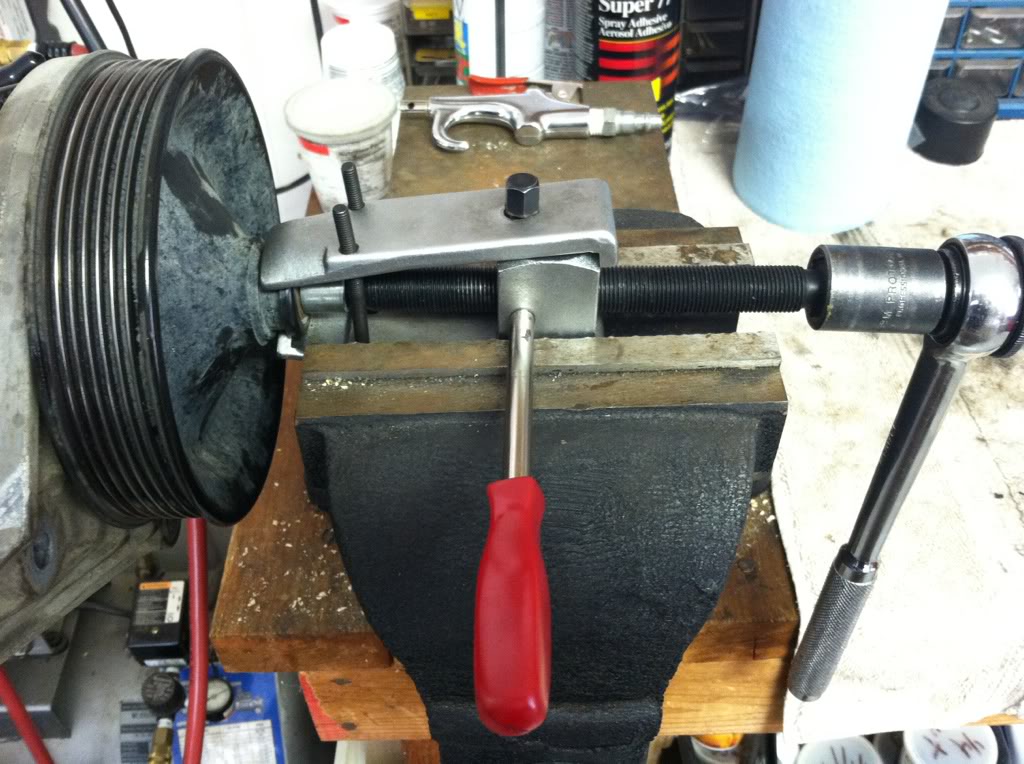
10. i put the puller in the vise to hold it still. tighten puller screw to remove pulley. mine was 19mm. keep one hand on the ps pump, as it will fall away from the puller when it comes off.
11. remove pump from bracket. 4 15mm bolts. note that the one in the 5 o'clock position is short.
12. move the 2 rear mounting studs from the old pump to the new. 18mm. these studs are not used for mounting, but Cardone says to install them or else the reservoir will leak.
*** you're done with the old pump. move the plugs from the old pump to the new pump to keep it clean. also move the fill cap from the old to the new. dump the fluid again from the old pump and put it in a bag.
13. mount the new pump on the bracket. short bolt in 5 o'clock position. i used a dap of blue locktite on each bolt.
14. setup your pulley install. i used 2 standard 5/16 inch bolts. a longer (2-3 inch) to start, and a shorter 1-1/4 to finish. also a stack of 5/16 washers. DONT use a big washer directly on the pulley (larger than the shaft), or you risk over-pressing it. a 5/16 washer will take it flush to the end of the shaft. hold the pulley with a strap wrench. i pressed it on in about 4 steps. be sure you catch about 3-4 rounds of threads before you start pressing, then you get about 1/4 to 1/2 inch of press before the bolt bottoms out in the shaft hole. repeat until the pulley is flush with the end of the shaft. be patient, it will slide on ever so slowly. do NOT use an impact wrench, hammer, press, etc.
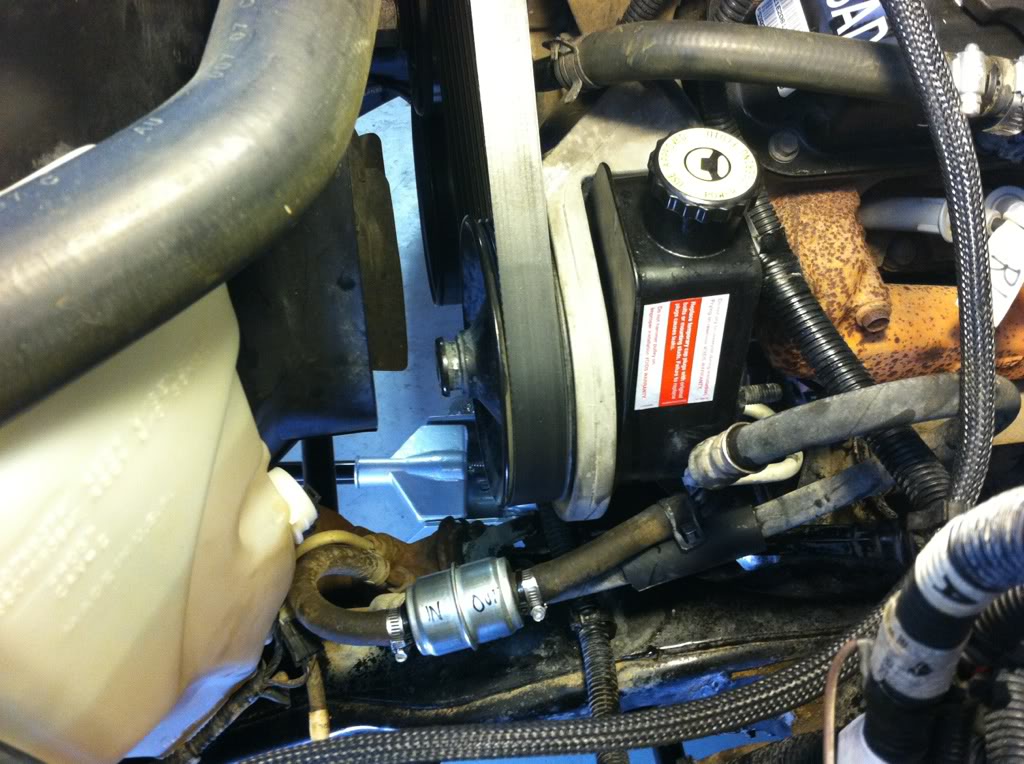
15. install bracket and pump to engine. stud in top left.
16. install the 2 ground wires on the stud. if you forget this, you'll get a "no bus" in odometer.
17. install serpentine belt.
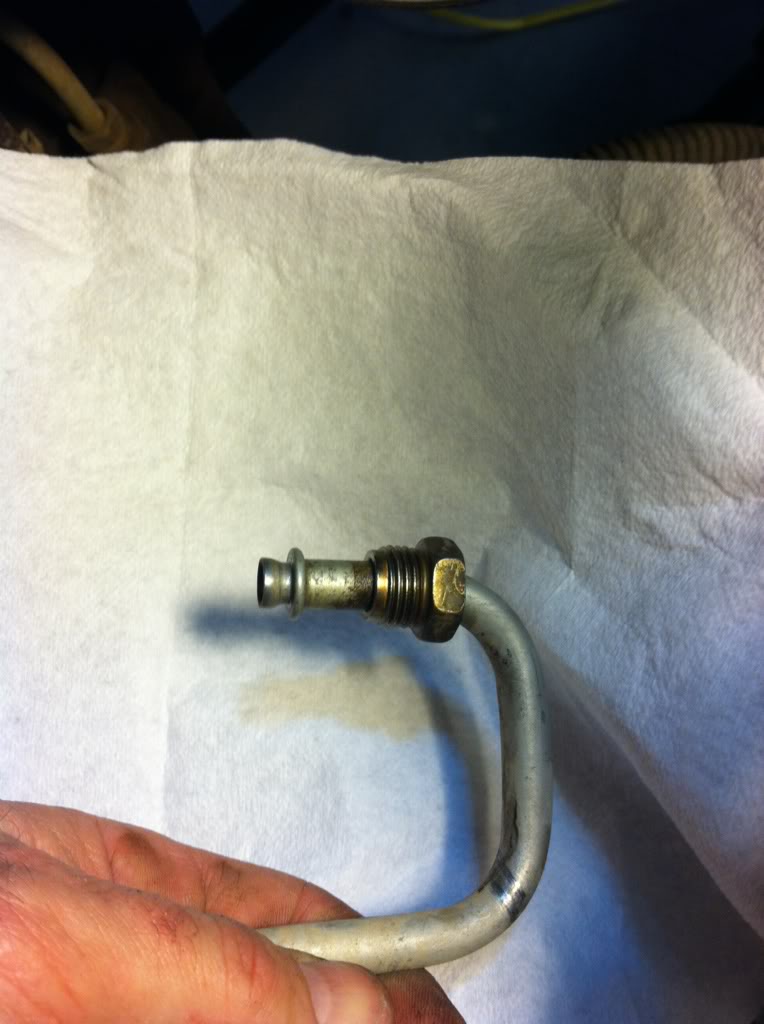
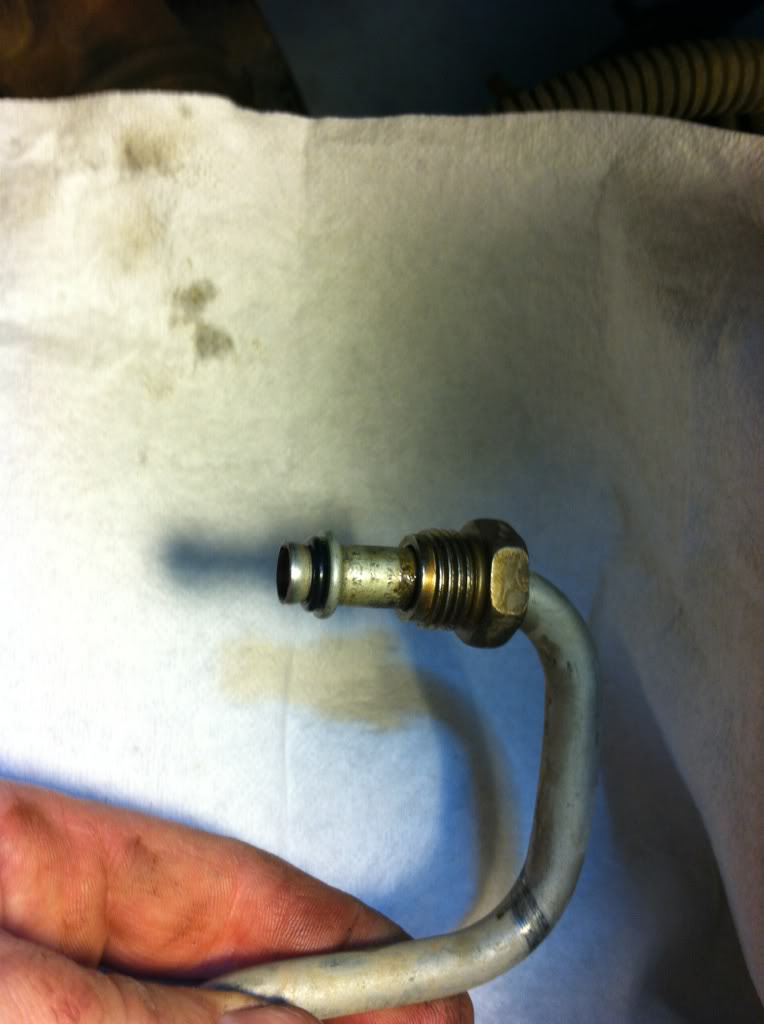
18. pressure line - locate the o-ring on the old hard line at the end. remove it and install the NEW small o-ring.
19. install the pressure line. 18mm.
if you are not going to install a filter, then plug the return pipe (so fluid doesn't run out) and don't cut the return hose, and point it into the bucket for the flush. go to step 21.
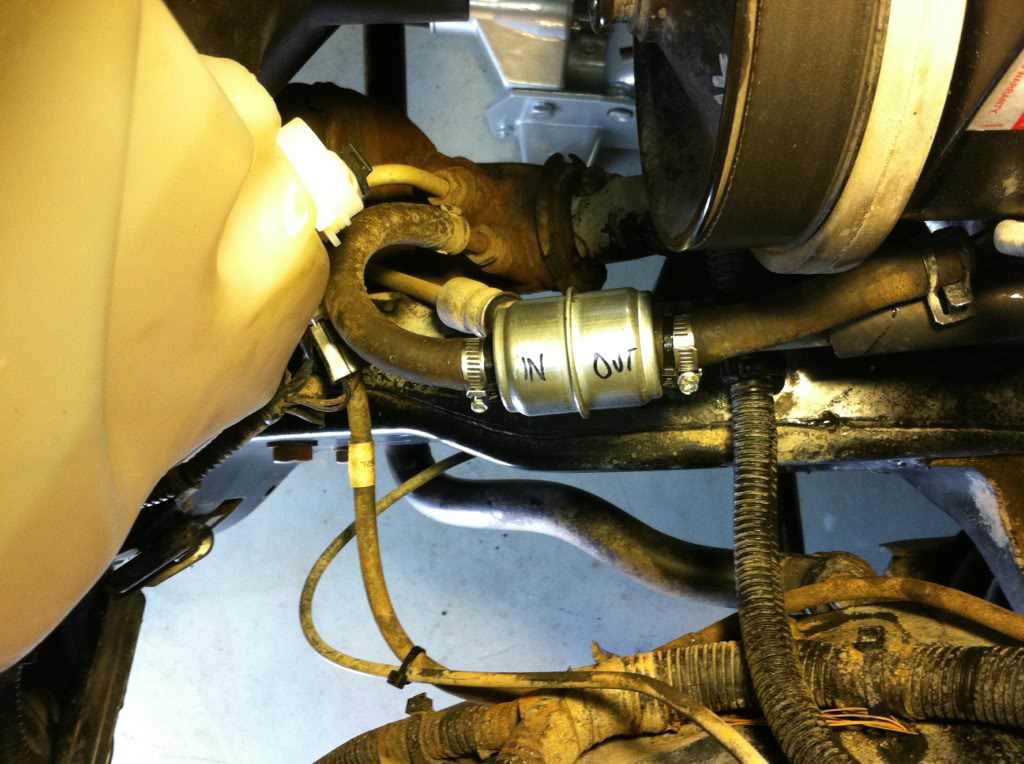
20. if you are going to install the filter -
a. locate the IN side and mark it with a marker.
b. decide where you want it.
c. cut the return hose to fit.
d. install the last segment of return line onto the pump return pipe with the original clamp.
e. install the filter - "out" side to the pump. you need 3/4" clamps.
f. plug the "in" side of the filter with a cap.
*** do not attach the return line to the filter (not yet)
*** you need to flush the steering gear and lines first.
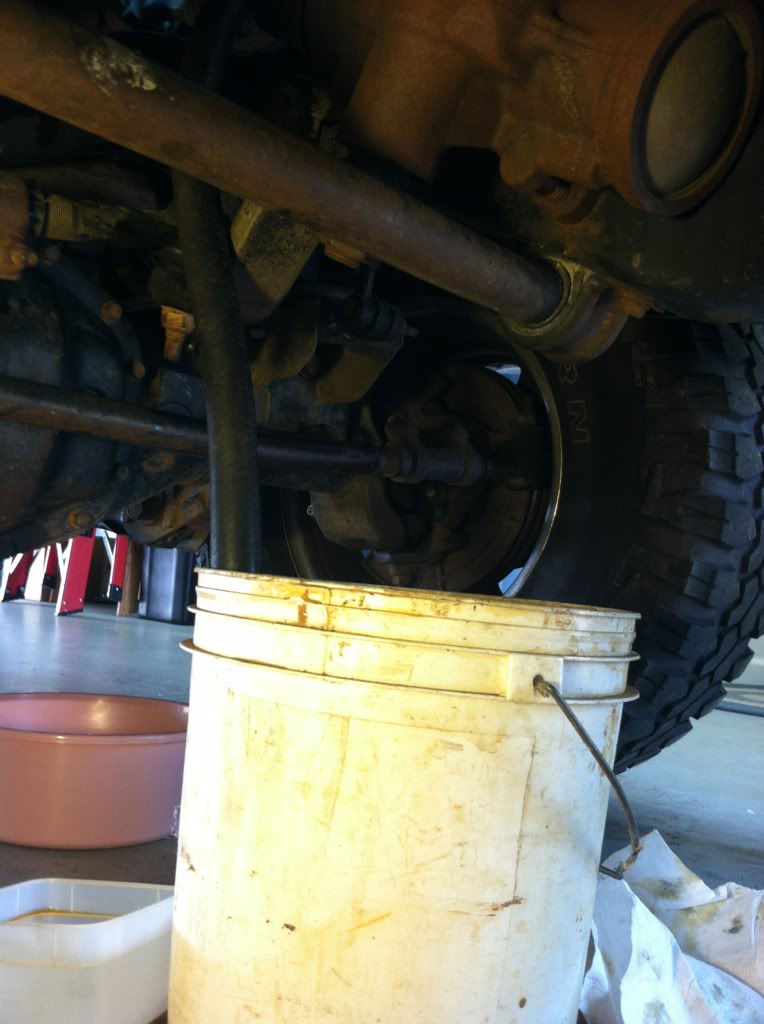
21. to flush - jack up the front tires off the ground. point the return line down and into a piece of 3/4 inch heater hose and place it into a bucket.
do NOT start the engine. turn key to unlock the steering.
fill the new ps pump reservoir with new fluid. it doesn't hold much. with engine off - turn steering wheel lock to lock a couple of times. it'll dump the fluid out the return hose.
refill and repeat about 5-10 times until the fluid runs out clean. i flushed about 2-3 quarts before it came out clean. dump the bucket towards the end so you can see that its clean.
22. when you're done with the flush,
attach the return line to the filter (IN) with clamp.
zip tie the filter down so it doesn't flop or rattle.
top off the pump reservoir.
23. clean up with towels and mild brake cleaner.
24. front tires still up in the air, crank the truck and let it run for about 15 seconds and check for leaks. shut off. top off reservoir. (don't let it go dry). crank truck and turn the wheel lock to lock. shut off. top off reservoir. crank truck and turn the wheel lock to lock several times to eliminate any air. shut off. top off reservoir. lower truck. drive it.

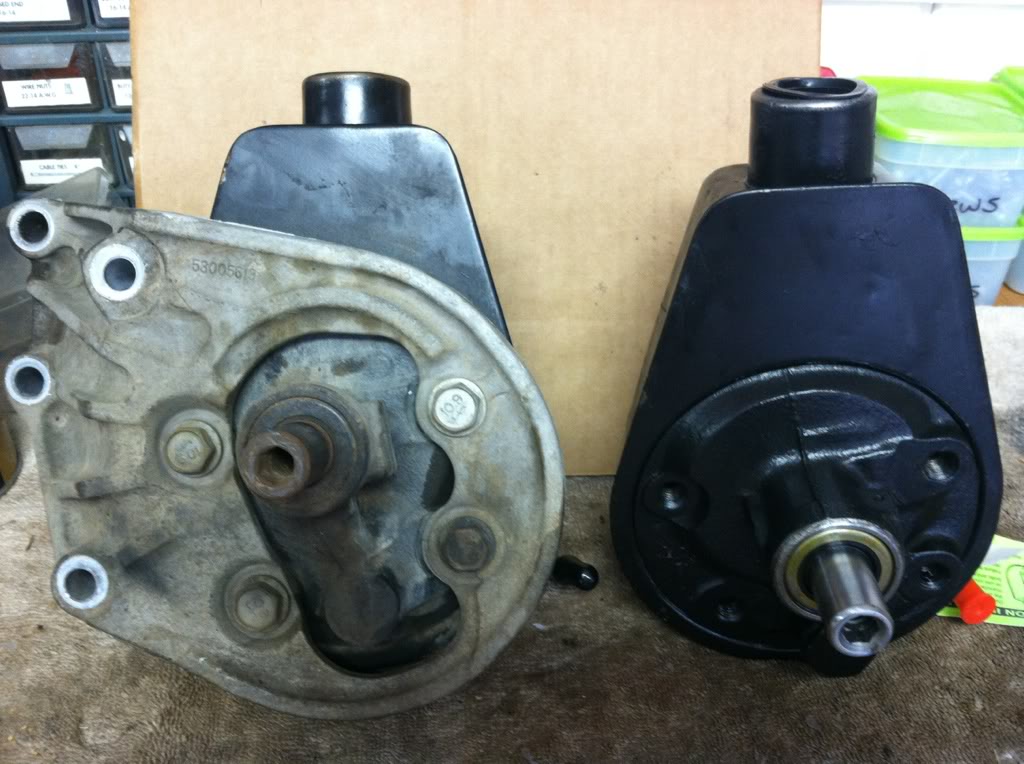
Pump - Cardone 20-7953F from Advance. $42.09 with lifetime warranty.
Fluid - 1 gallon Valvoline from Advance. $13.59. I used about 3 quarts to flush and fill.
PS Pulley Removal Tool - I rented/borrowed from Advance.
PS Pulley Install Tool - I did not rent an install tool, but just used a 5/16 bolt and washers to drive it on and a strap wrench to hold the pulley.
Filter - Fenco 2210 from Autozone. $10. Advance doesn't carry that filter.
Clamps - two 3/4". the ones in the Fenco kit are too small for our hoses.
Shop towels.
Mild Brake cleaner. I like Advance's. Walmart's is too strong and burns your skin.
tools:
ps pulley removal tool (rent/loan)
wrenches - 9/16, 15mm, 18mm.
sockets - 9/16 deep, 15mm, 19mm for puller, 4mm allen-head for puller
1/4 inch socket or nut driver for filter clamps
knife or heavy scissors to cut the return hose
funnel.
for flushing - small bucket, 3/4 inch heater hose about 2 feet long
jack
home-made pulley install tool- 5/16" bolt about 2 to 2-1/2 inches long and two inches of washers as spacers.
strap wrench.
note the o-ring attached to the new ps pump. don't lose it.
1. unhook serpentine belt and move it out of the way. 15mm wrench.
2. remove the plastic caps from the new pump, to use to plug the lines on the old pump. keep new pump in plastic bag to keep clean.
3. remove old fluid from old PS pump, lines, steering gear by flushing. jack up the front tires off the ground. disconnect return hose from pump pipe. flatten the tab on the squeeze clamp so it'll compress all the way. i used a small flat screwdriver to gently separate the hose from the return pipe, and a few squirts of silicon spray or wd40. plug the return pipe quickly. point the return hose down and into a piece of 3/4 inch heater hose and into a bucket. do NOT start the engine. turn key to unlock the steering. with engine off - turn steering wheel lock to lock several times. it'll dump all the fluid out the return hose. leave the return hose in the bucket for futher flushing later.
4. remove pressure line from underneath. 18mm wrench. plug the hole quickly.
5. remove nut from the stud on the top of the the ps bracket. it has 2 ground wires under it. 9/16 wrench. 14mm was too small. move the 2 wires up out of the way. the water pump pipe blocks access by socket and forces you to use a wrench on this.
6. remove the stud (w/wrench) and the other 3 9/16 ps bracket bolts. note 2 are long and 2 are short.
7. remove the ps bracket with pump and pulley still attached and take it to the workbench.
8. turn the old pump upside down and dump any remaining fluid.
*** note the position of the pulley on the shaft. end of pulley is flush with end of shaft. also note the distance from the inside edge of the pulley to the ps bracket. its very close, about 3/16 inch or less.
9. setup the puller on the pulley. i had to finagle/tighten one side bolt or the other to center the bolt over the shaft. do use the little bolts to lock the puller arms around the puller.
10. i put the puller in the vise to hold it still. tighten puller screw to remove pulley. mine was 19mm. keep one hand on the ps pump, as it will fall away from the puller when it comes off.
11. remove pump from bracket. 4 15mm bolts. note that the one in the 5 o'clock position is short.
12. move the 2 rear mounting studs from the old pump to the new. 18mm. these studs are not used for mounting, but Cardone says to install them or else the reservoir will leak.
*** you're done with the old pump. move the plugs from the old pump to the new pump to keep it clean. also move the fill cap from the old to the new. dump the fluid again from the old pump and put it in a bag.
13. mount the new pump on the bracket. short bolt in 5 o'clock position. i used a dap of blue locktite on each bolt.
14. setup your pulley install. i used 2 standard 5/16 inch bolts. a longer (2-3 inch) to start, and a shorter 1-1/4 to finish. also a stack of 5/16 washers. DONT use a big washer directly on the pulley (larger than the shaft), or you risk over-pressing it. a 5/16 washer will take it flush to the end of the shaft. hold the pulley with a strap wrench. i pressed it on in about 4 steps. be sure you catch about 3-4 rounds of threads before you start pressing, then you get about 1/4 to 1/2 inch of press before the bolt bottoms out in the shaft hole. repeat until the pulley is flush with the end of the shaft. be patient, it will slide on ever so slowly. do NOT use an impact wrench, hammer, press, etc.
15. install bracket and pump to engine. stud in top left.
16. install the 2 ground wires on the stud. if you forget this, you'll get a "no bus" in odometer.
17. install serpentine belt.
18. pressure line - locate the o-ring on the old hard line at the end. remove it and install the NEW small o-ring.
19. install the pressure line. 18mm.
if you are not going to install a filter, then plug the return pipe (so fluid doesn't run out) and don't cut the return hose, and point it into the bucket for the flush. go to step 21.
20. if you are going to install the filter -
a. locate the IN side and mark it with a marker.
b. decide where you want it.
c. cut the return hose to fit.
d. install the last segment of return line onto the pump return pipe with the original clamp.
e. install the filter - "out" side to the pump. you need 3/4" clamps.
f. plug the "in" side of the filter with a cap.
*** do not attach the return line to the filter (not yet)
*** you need to flush the steering gear and lines first.
21. to flush - jack up the front tires off the ground. point the return line down and into a piece of 3/4 inch heater hose and place it into a bucket.
do NOT start the engine. turn key to unlock the steering.
fill the new ps pump reservoir with new fluid. it doesn't hold much. with engine off - turn steering wheel lock to lock a couple of times. it'll dump the fluid out the return hose.
refill and repeat about 5-10 times until the fluid runs out clean. i flushed about 2-3 quarts before it came out clean. dump the bucket towards the end so you can see that its clean.
22. when you're done with the flush,
attach the return line to the filter (IN) with clamp.
zip tie the filter down so it doesn't flop or rattle.
top off the pump reservoir.
23. clean up with towels and mild brake cleaner.
24. front tires still up in the air, crank the truck and let it run for about 15 seconds and check for leaks. shut off. top off reservoir. (don't let it go dry). crank truck and turn the wheel lock to lock. shut off. top off reservoir. crank truck and turn the wheel lock to lock several times to eliminate any air. shut off. top off reservoir. lower truck. drive it.
Last edited by dhvaughan; 04-14-2013 at 09:59 AM.
#3
04-14-2013, 09:26 AM
#4
04-14-2013, 09:39 AM
****note that engine was OFF for flush. otherwise, it will pump out faster than you can replenish it and you'll run the pump dry. (i did that on my old chevy)
with return hose in the bucket, a full reservoir would empty itself in 2 or 3 lock to lock cycles. you don't have to worry about all the air bubble and gurgling sounds that it makes. it will self purge the air out later when you put it back together. the dirty crap that comes out of the steering box is ugly.
an alternative is to remove the fuel pump relay and cycle the starter for a few seconds. i tried this but didn't get enough flow to suit me and didn't like spinning the starter that long.
the return hose came out of the bucket during one cycle, and it dumped about 1/2 quart of oil on the floor in a flash. oops.

